Ceramics are functional works of joy! Throw, coil, slab, or pinch– I explore rough, beautiful, and silly ways clay can take shape :)
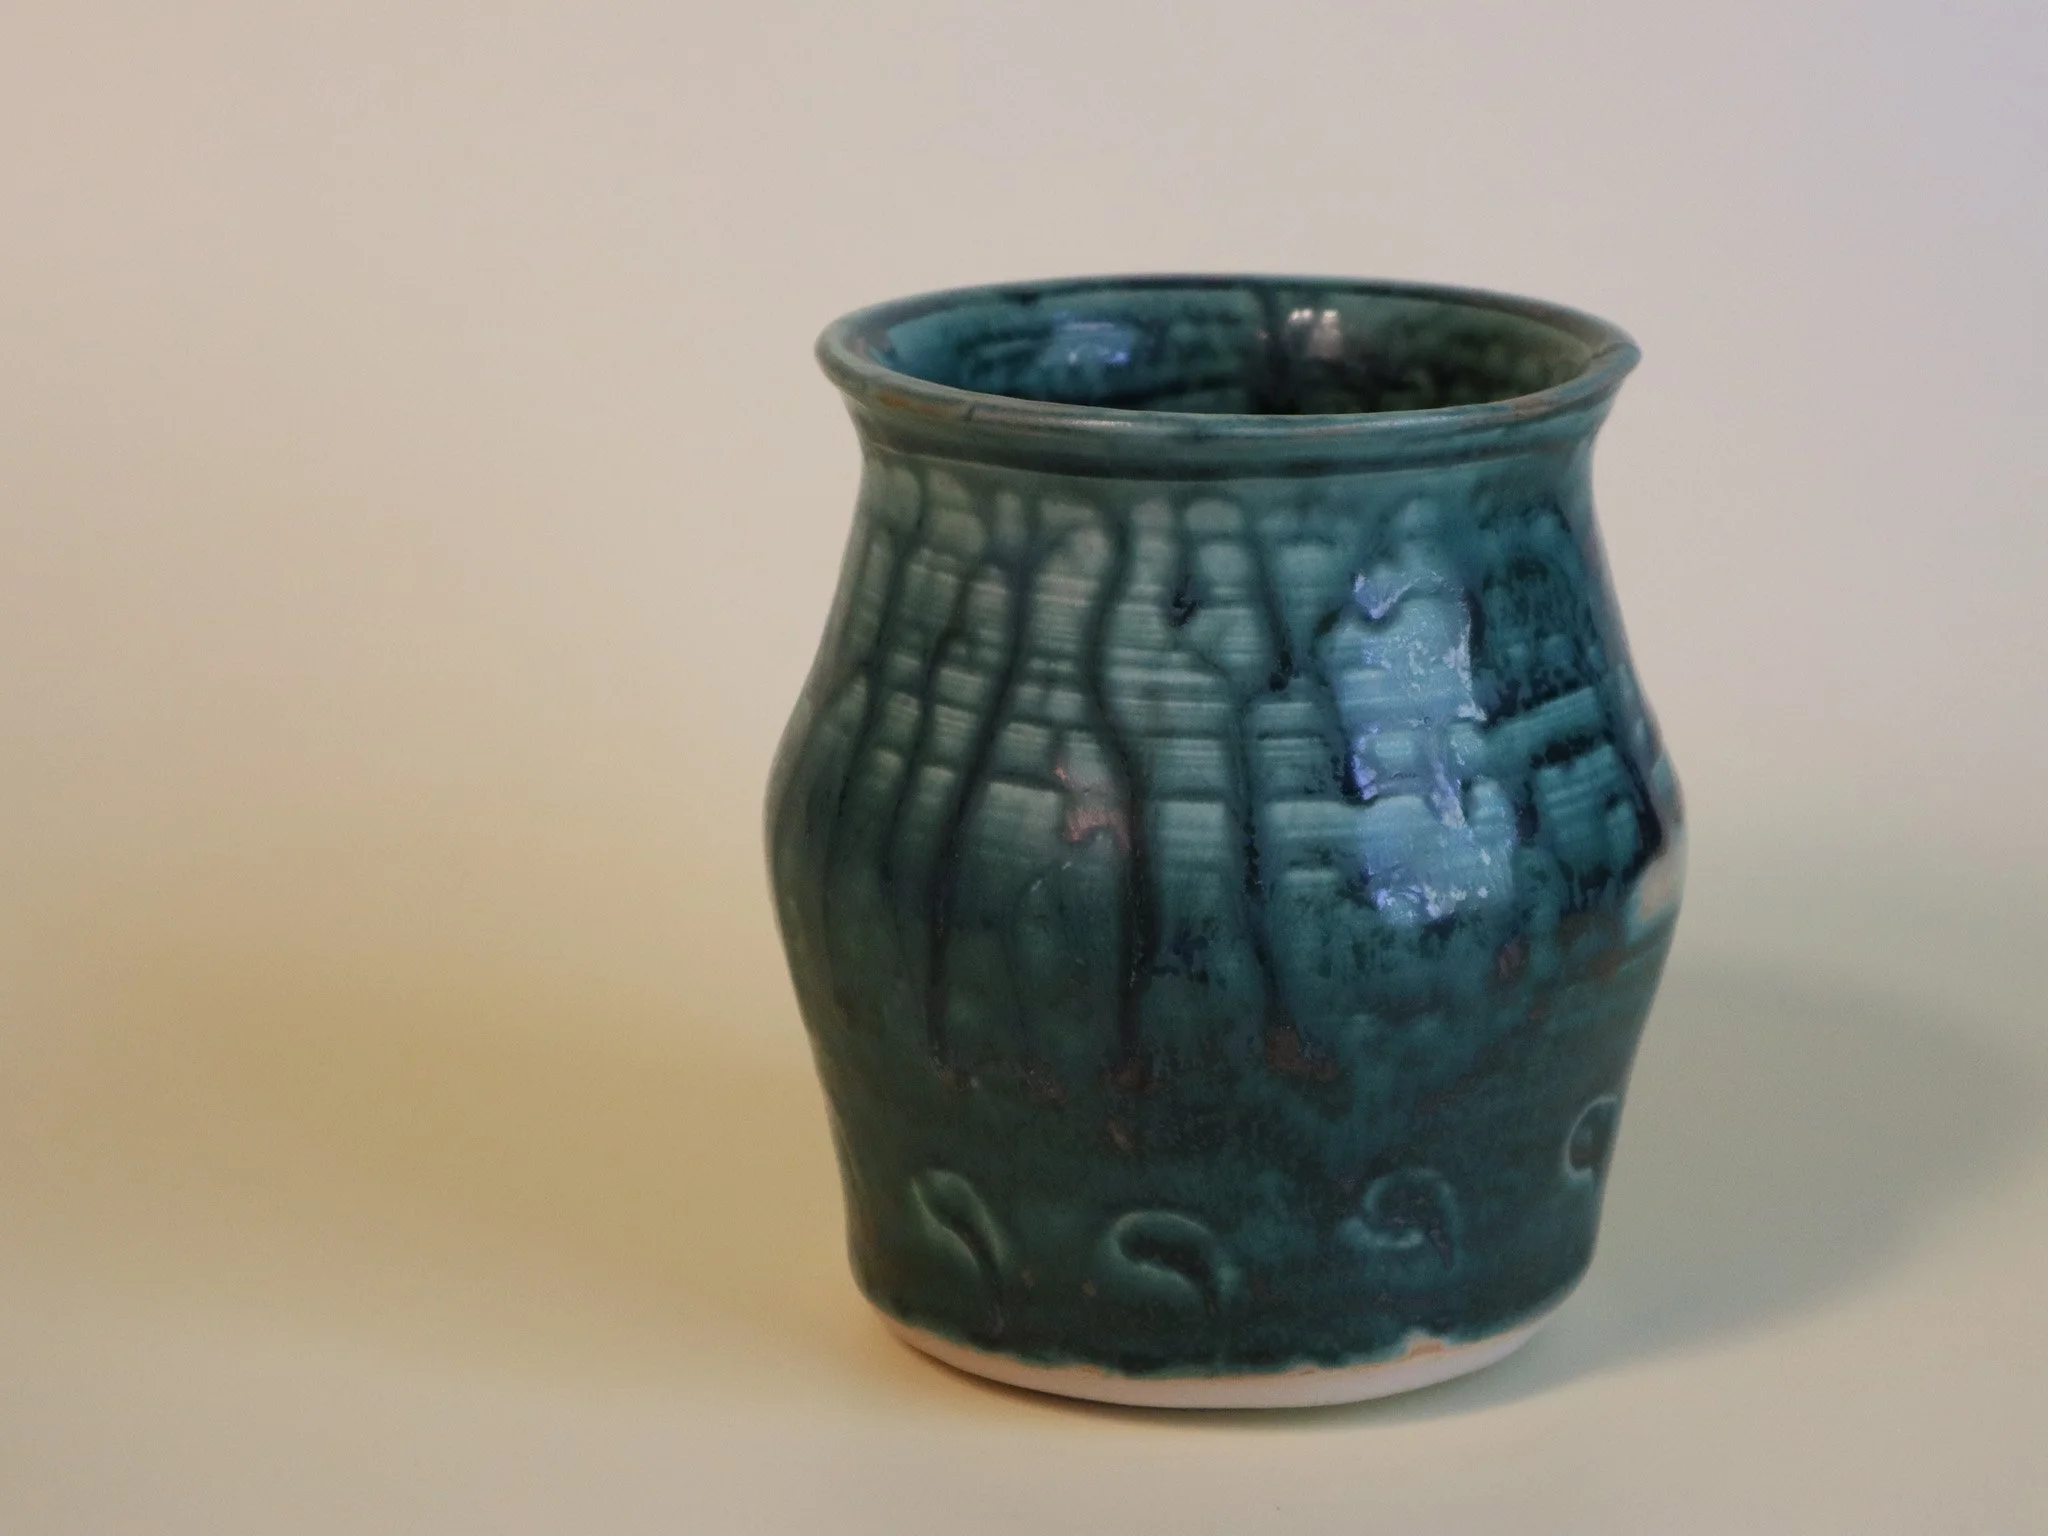
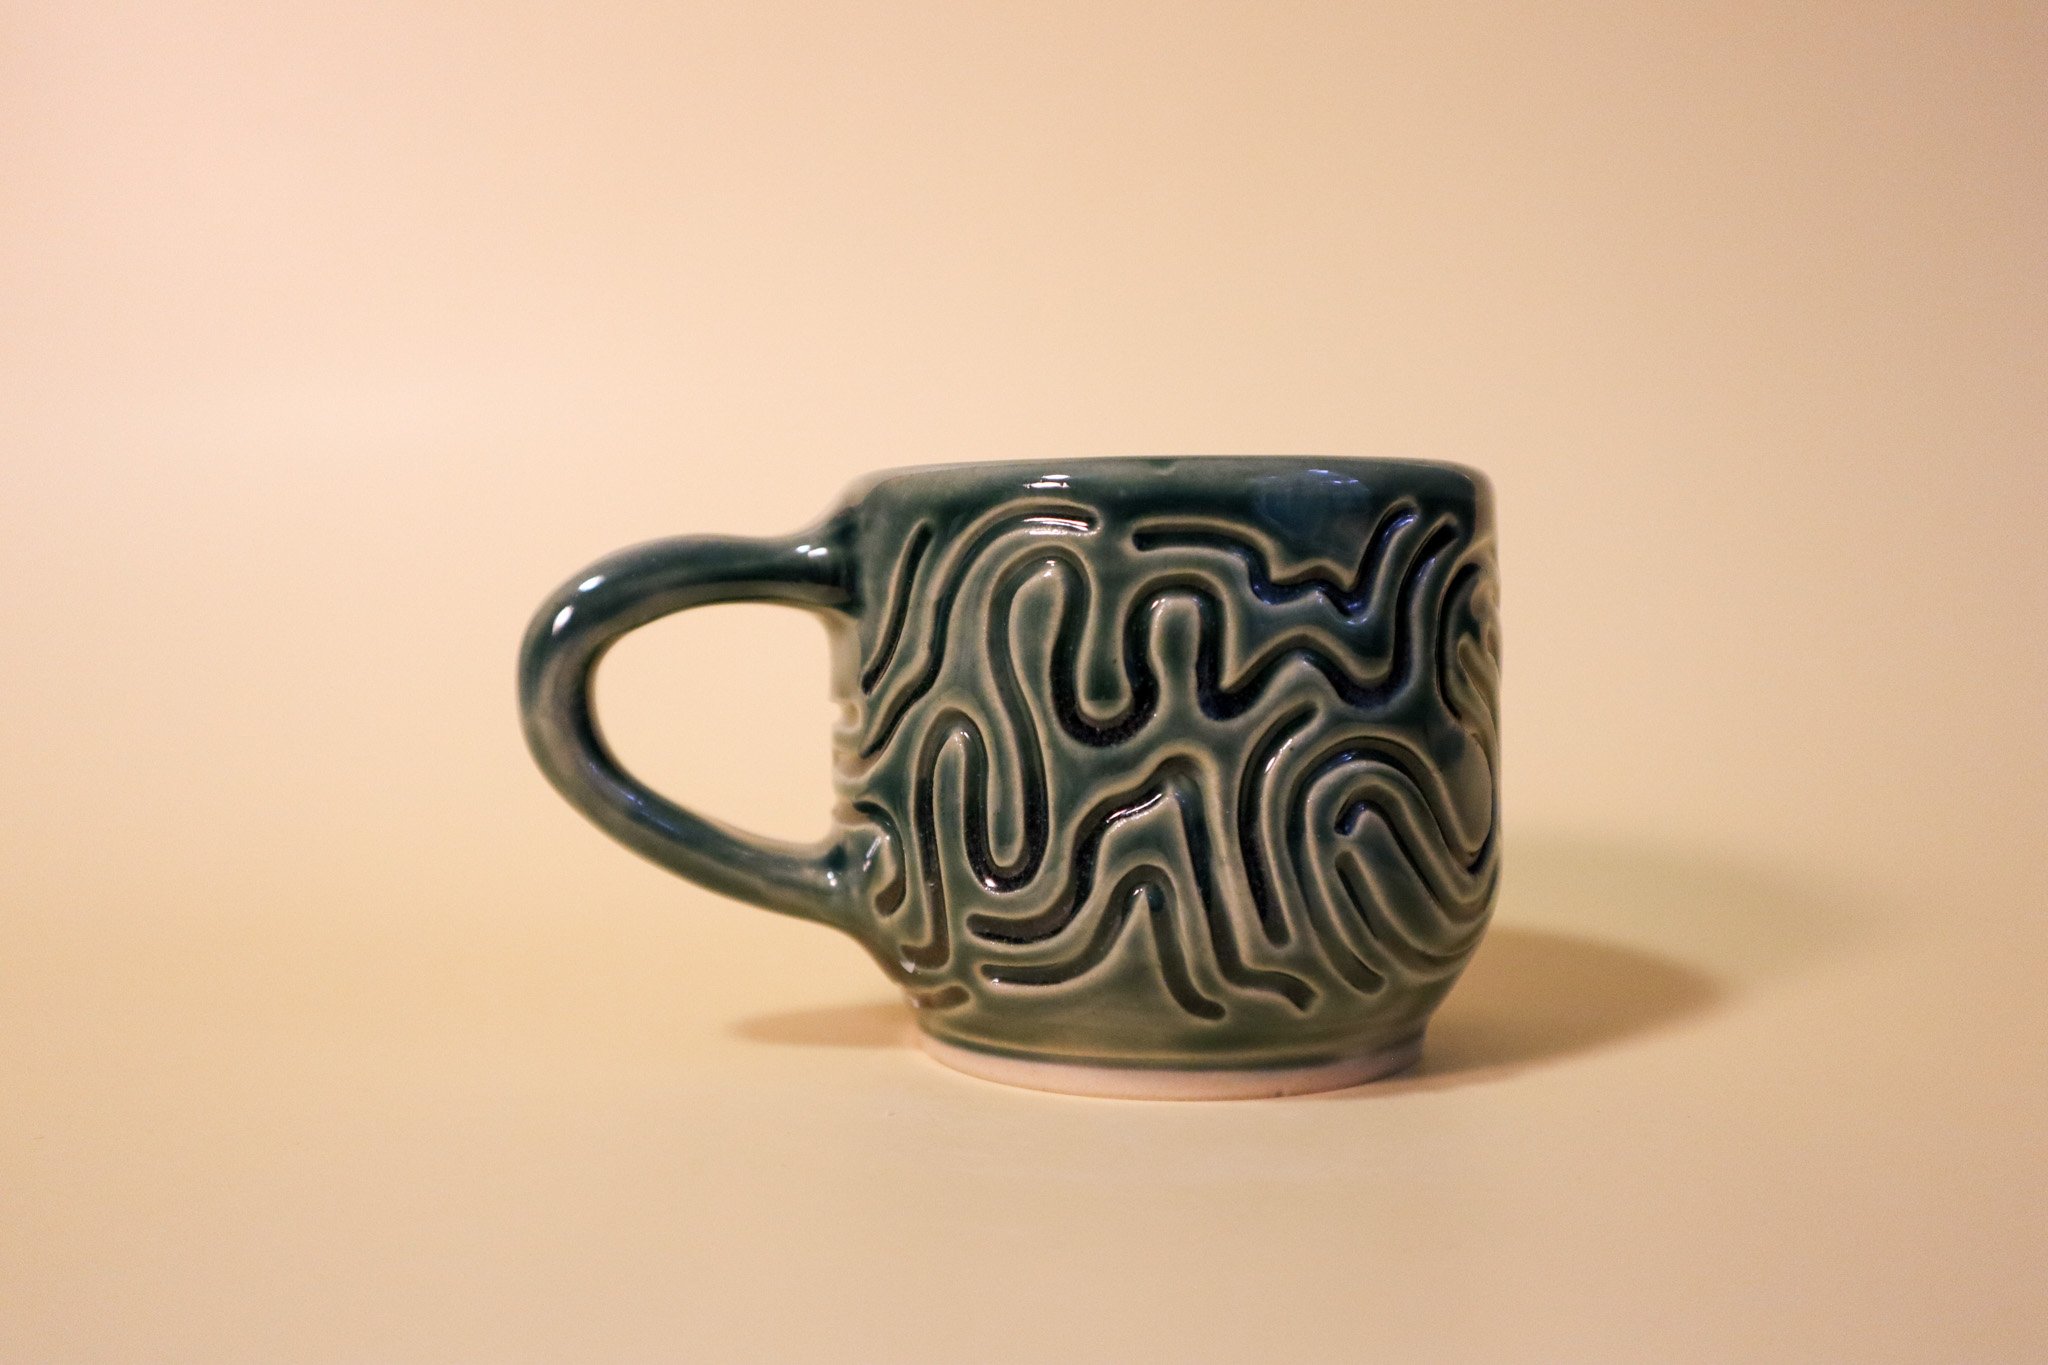
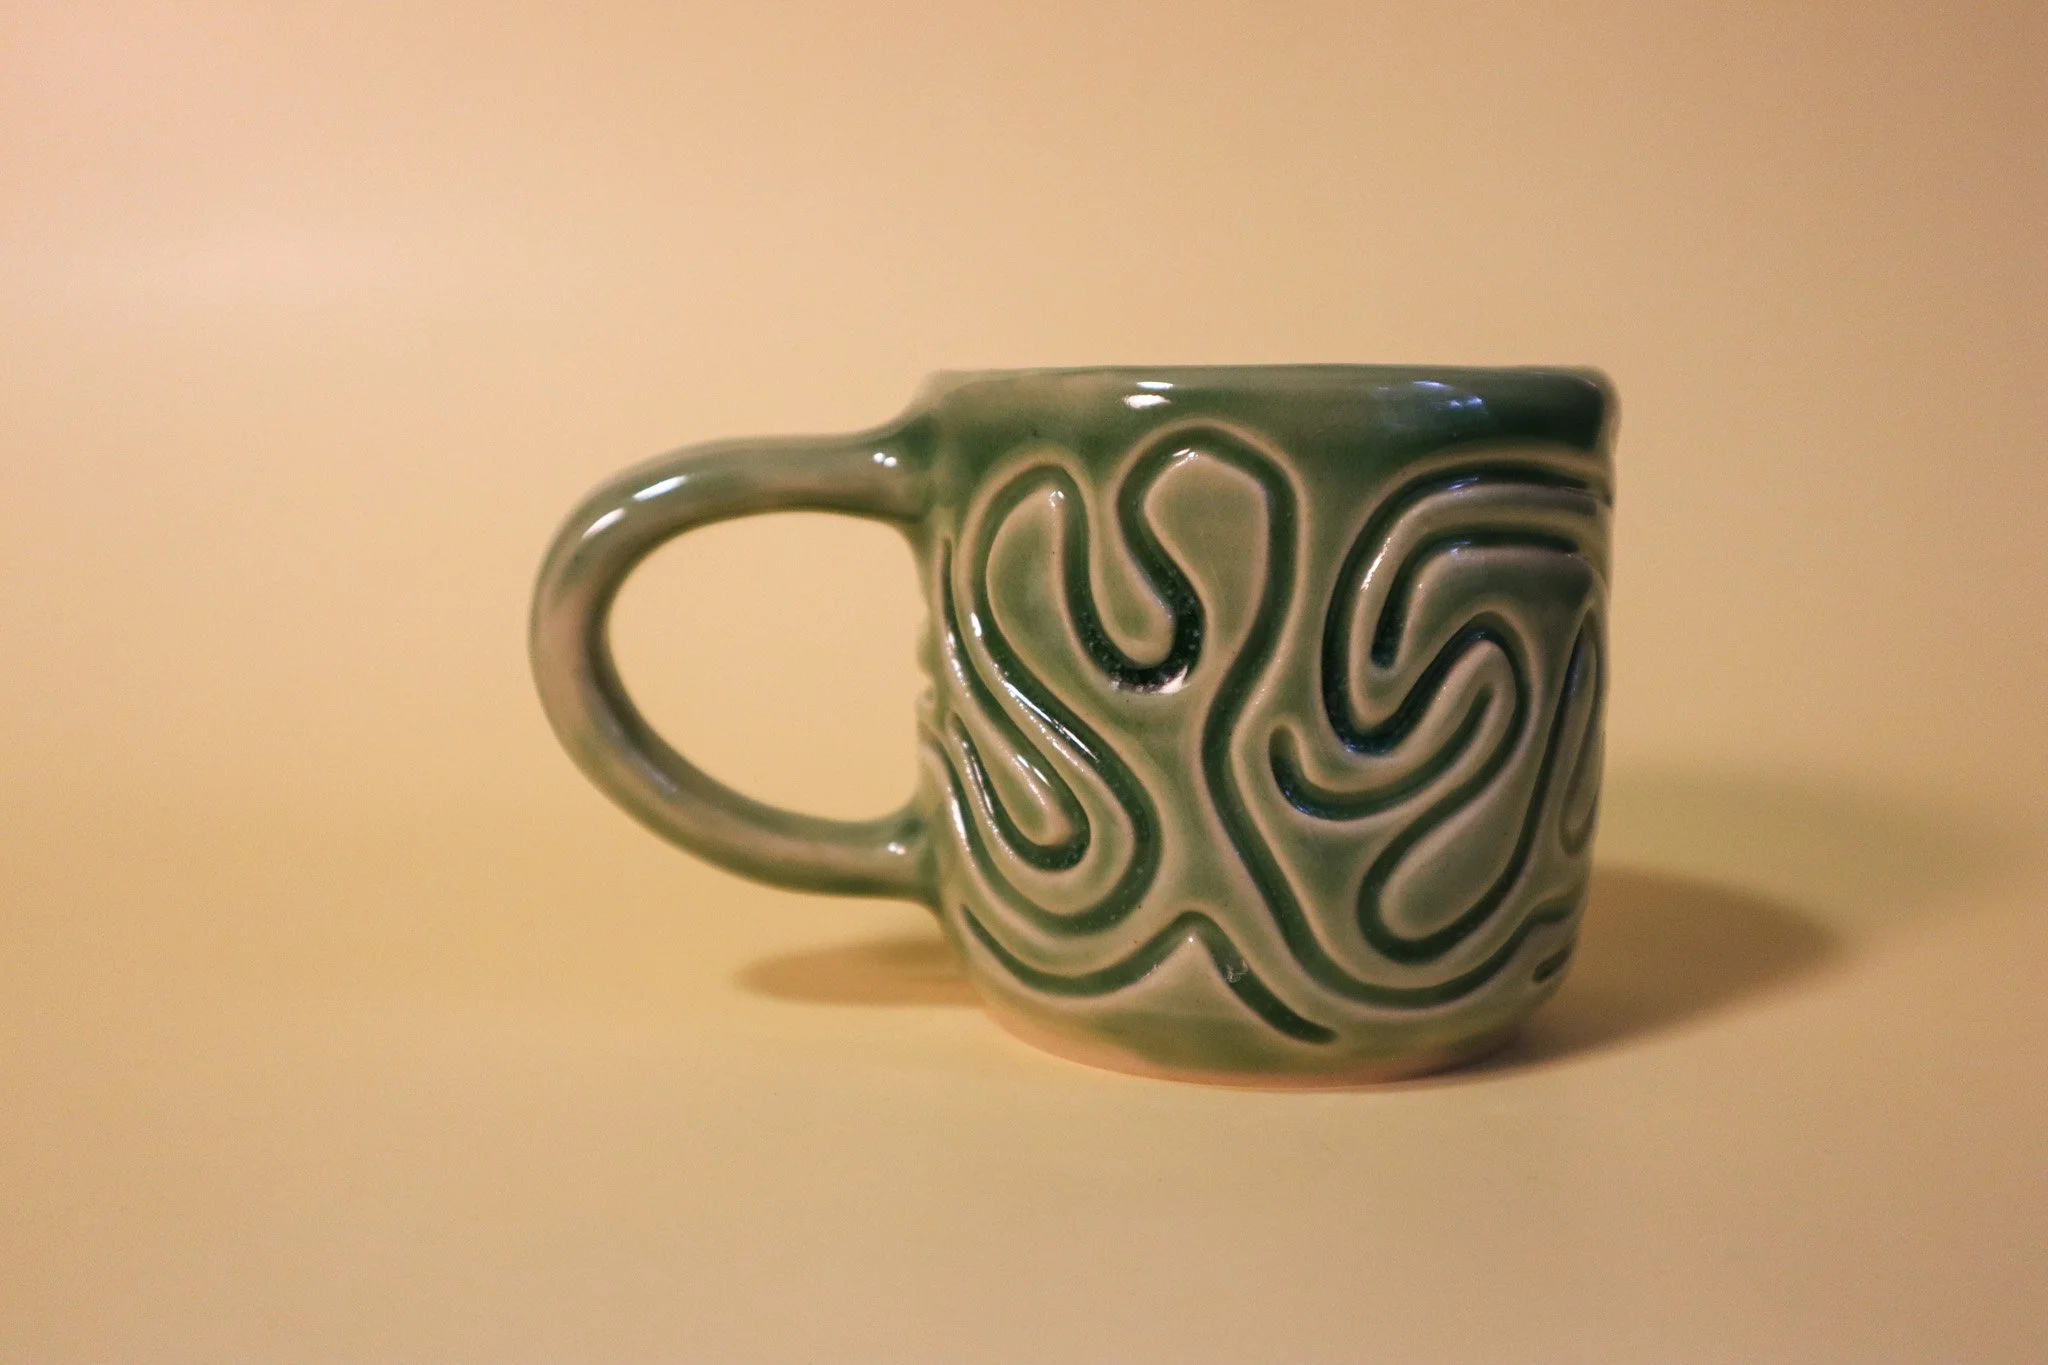
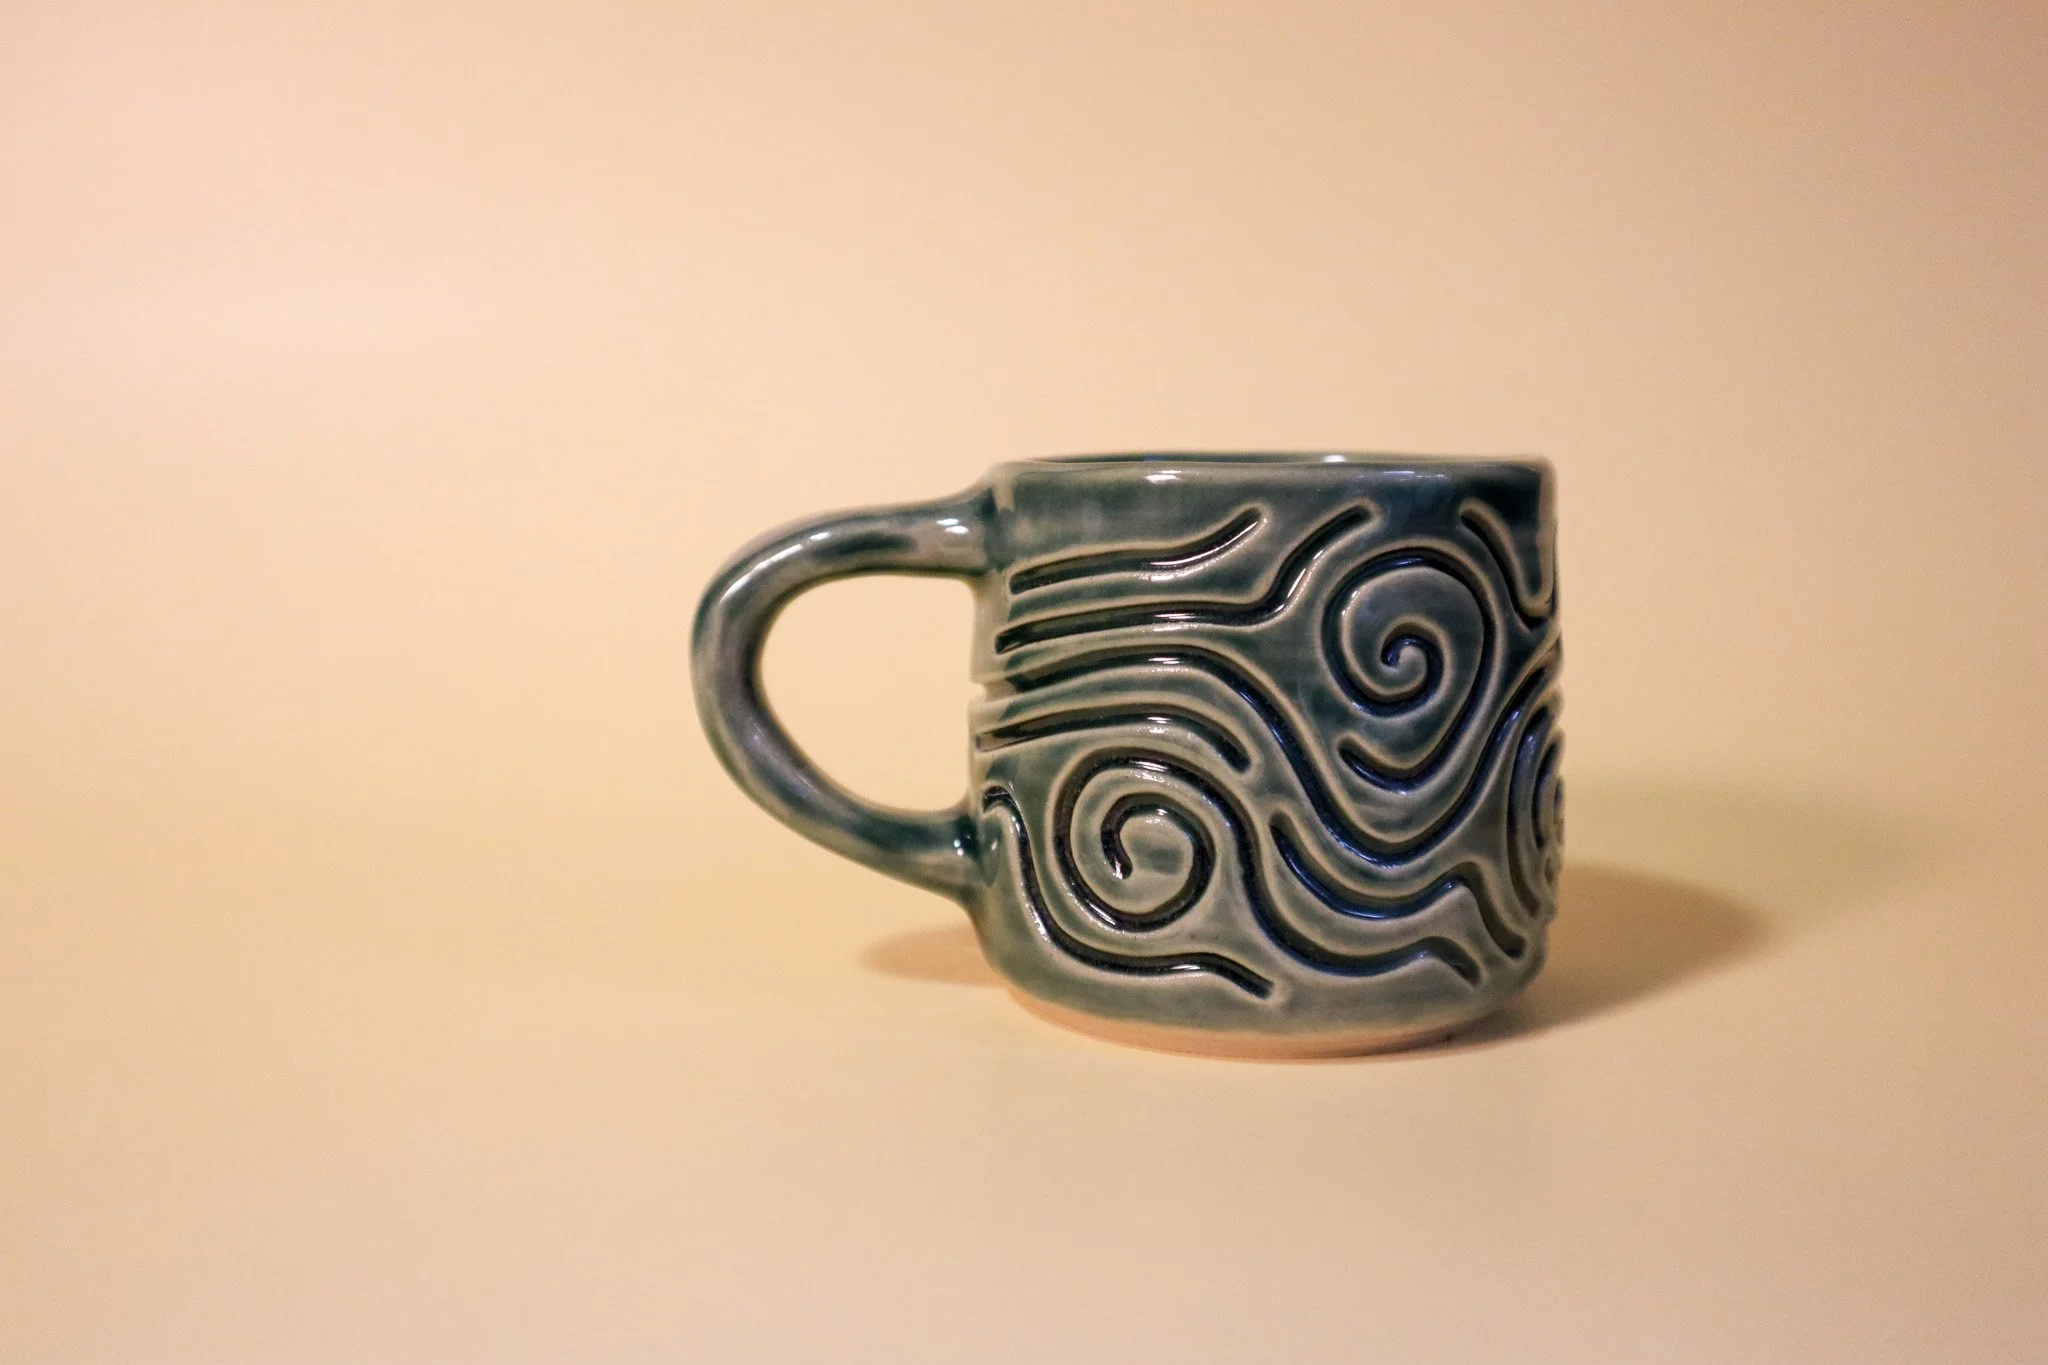
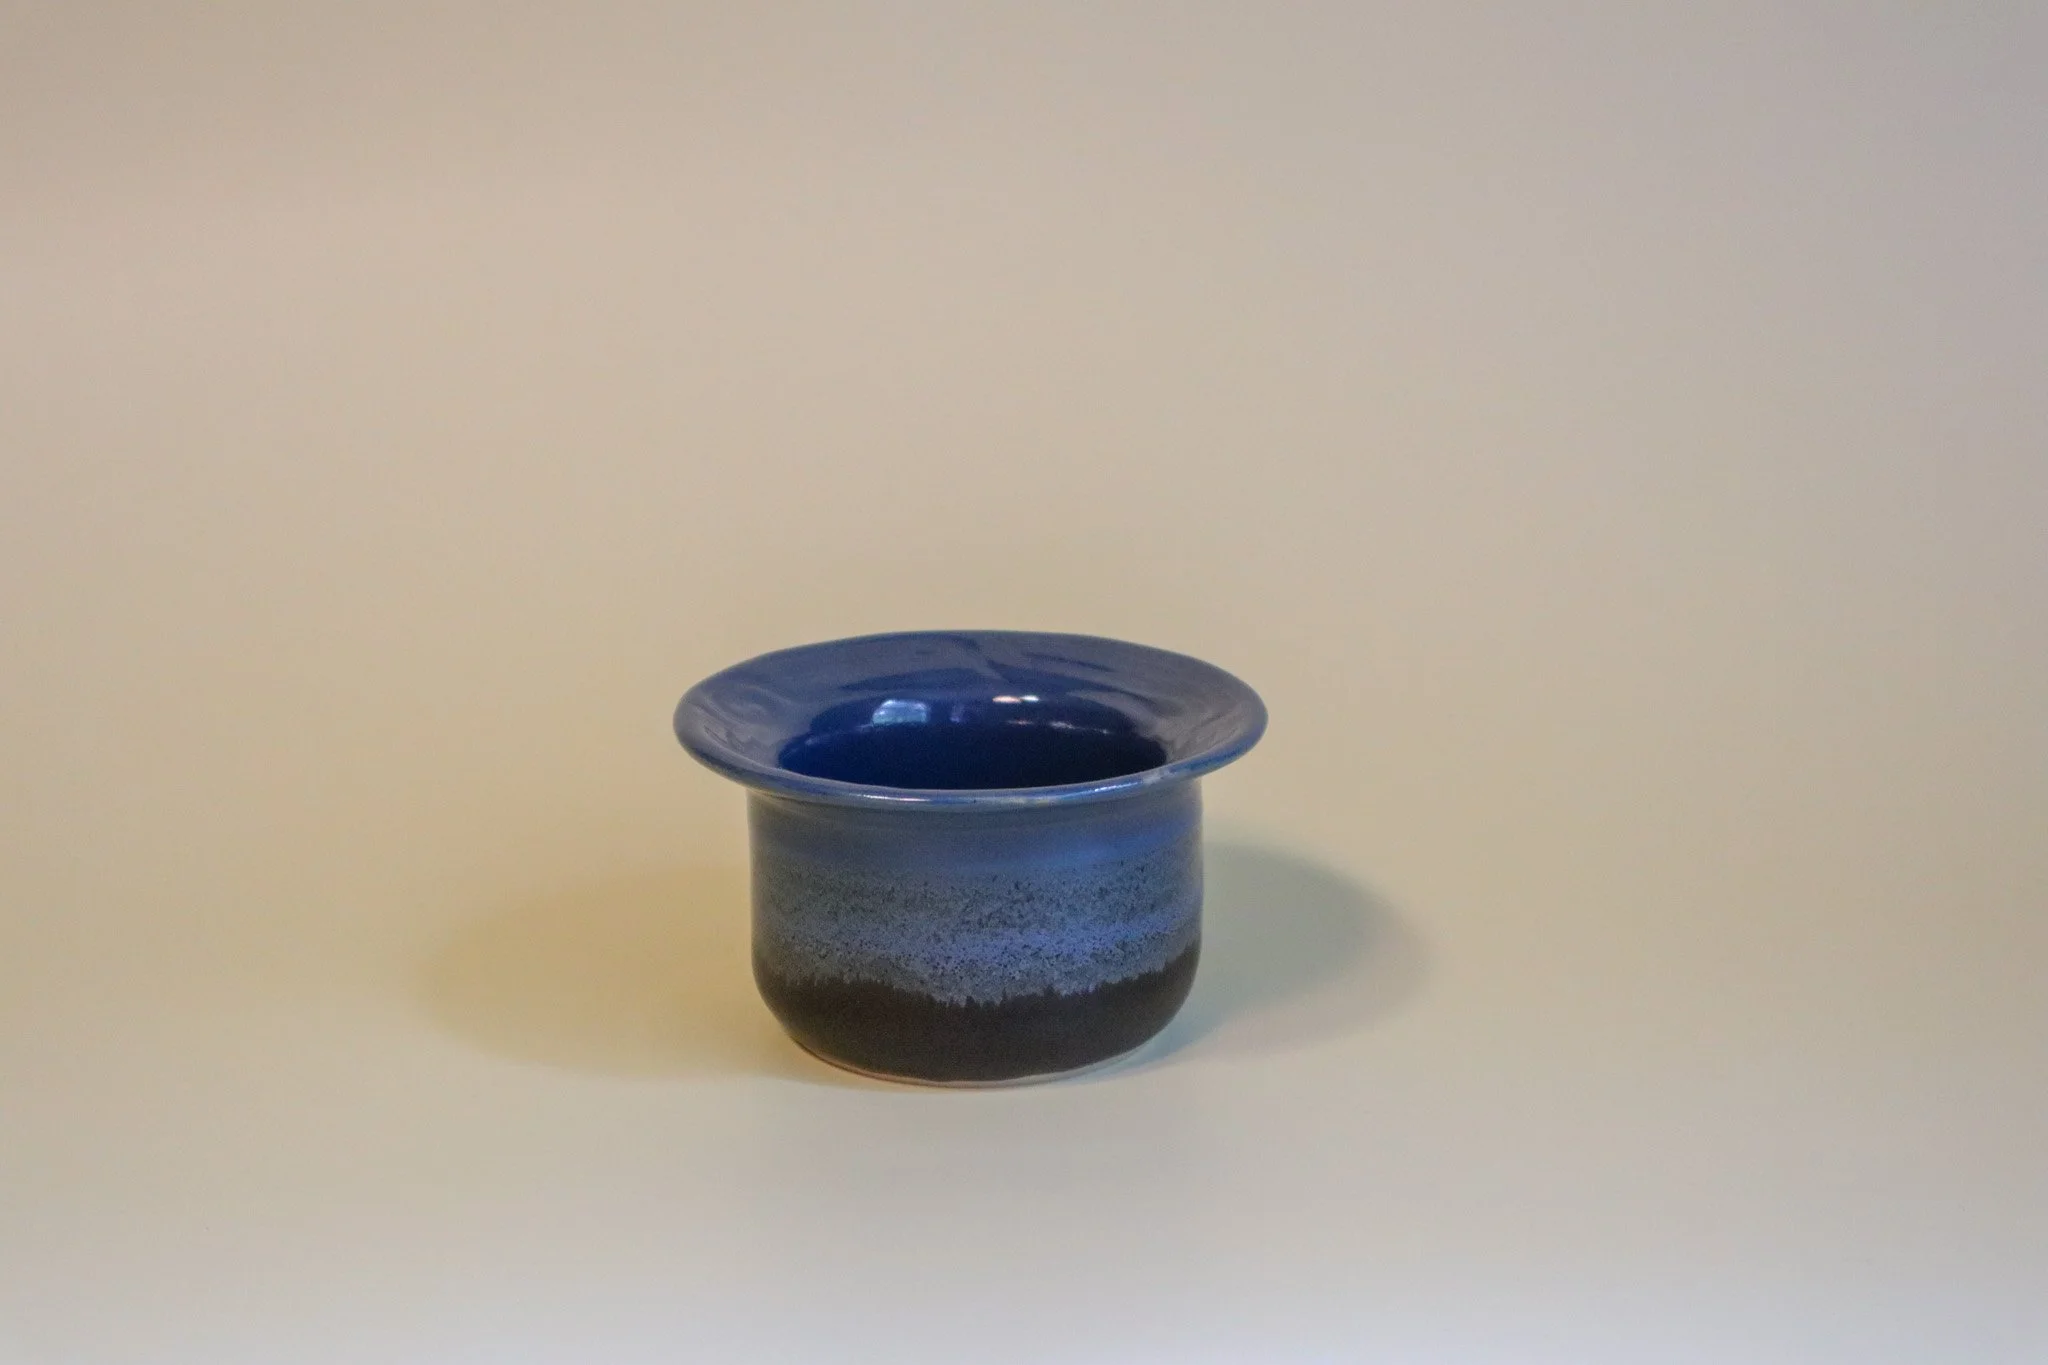
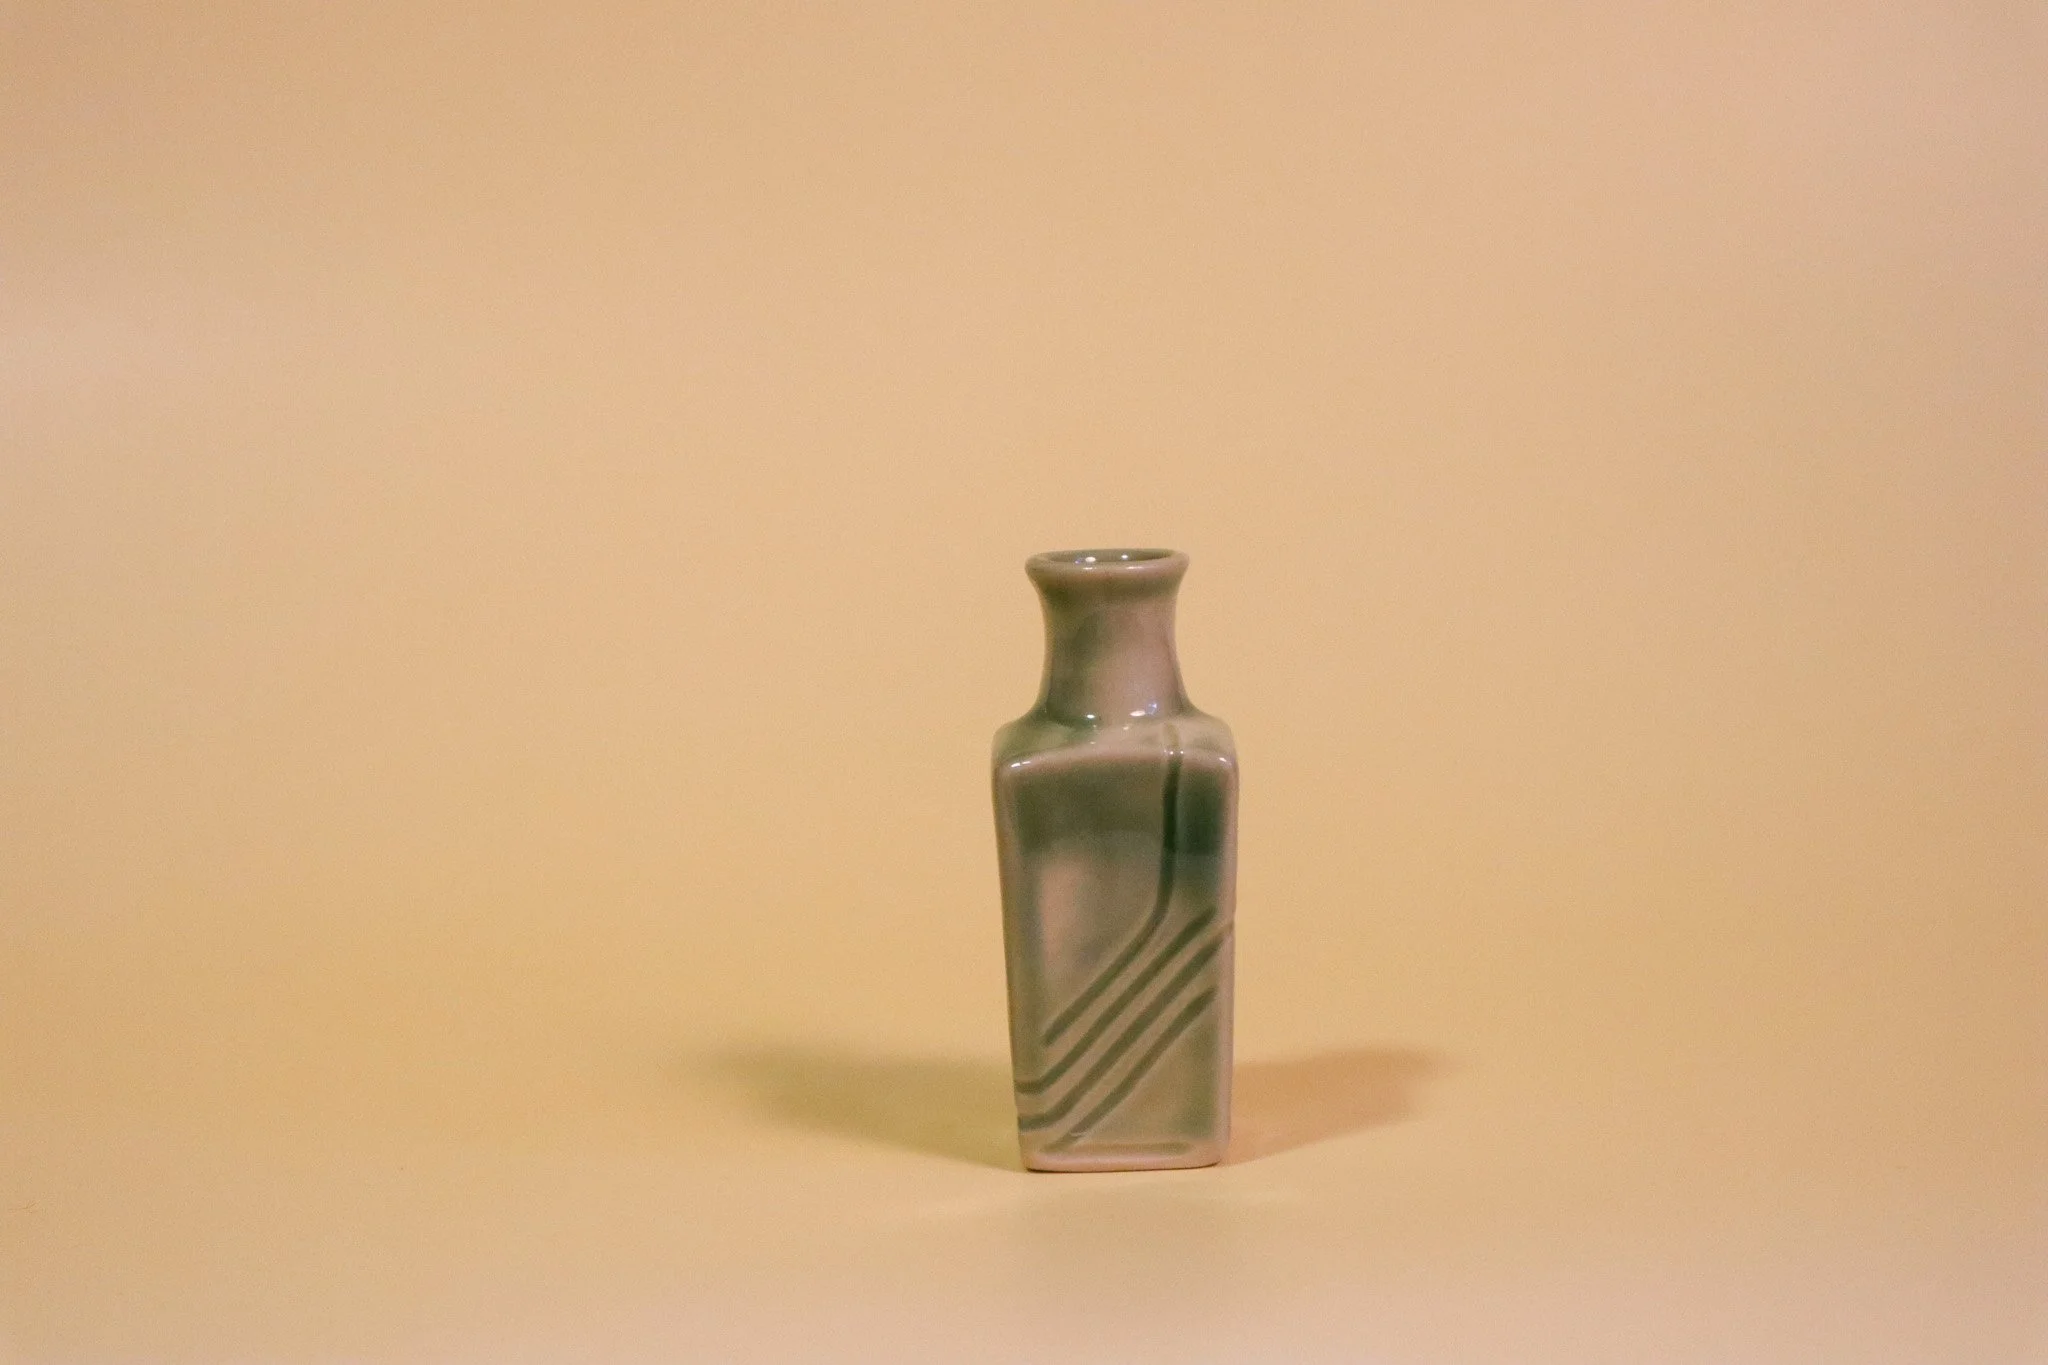
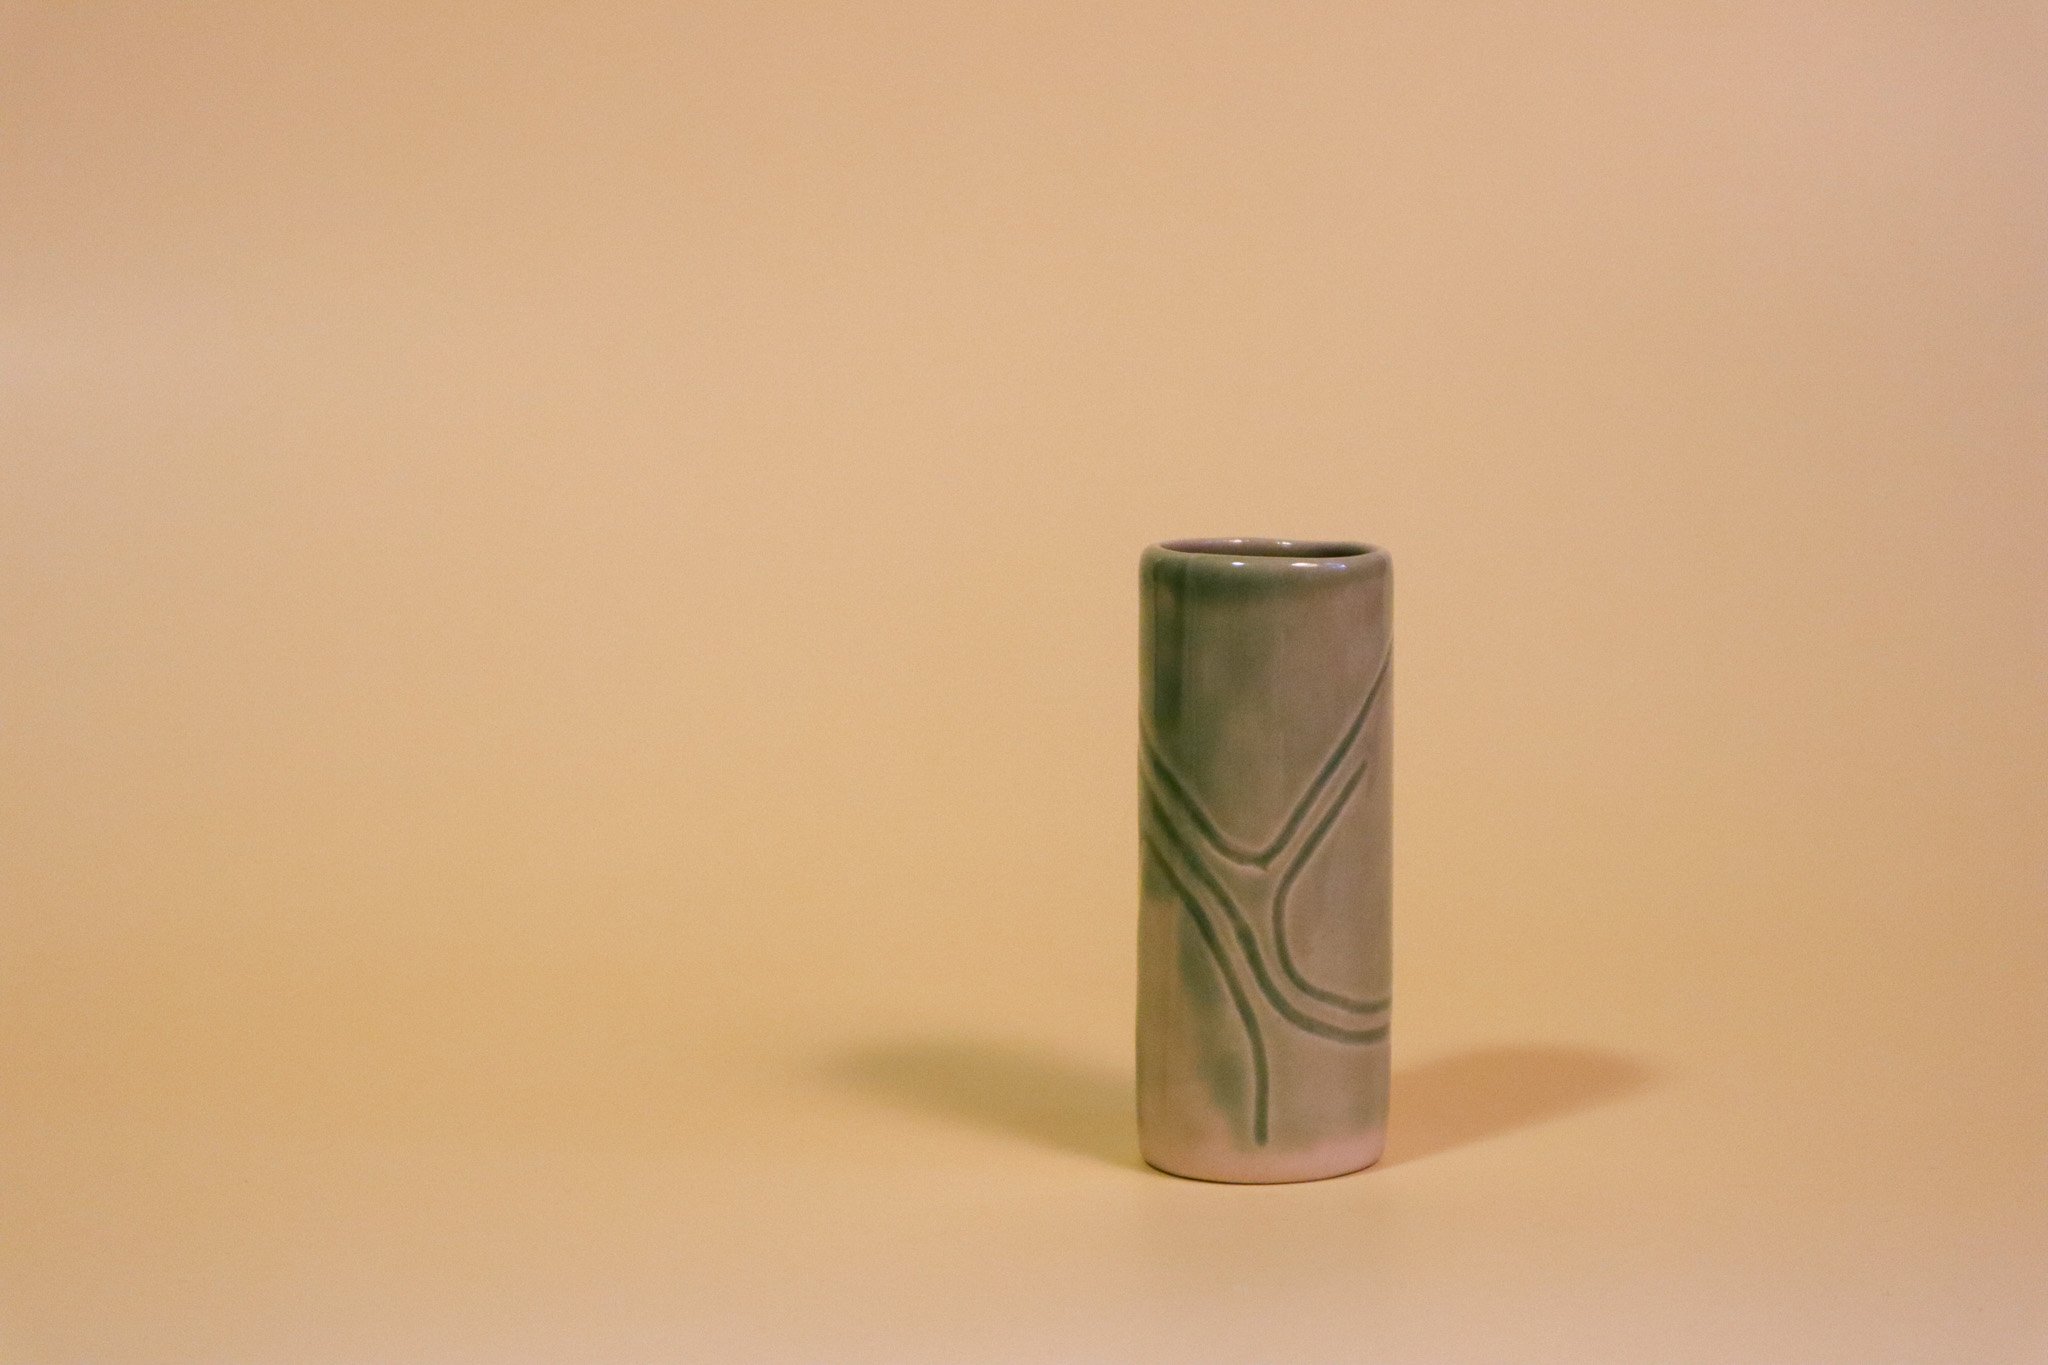
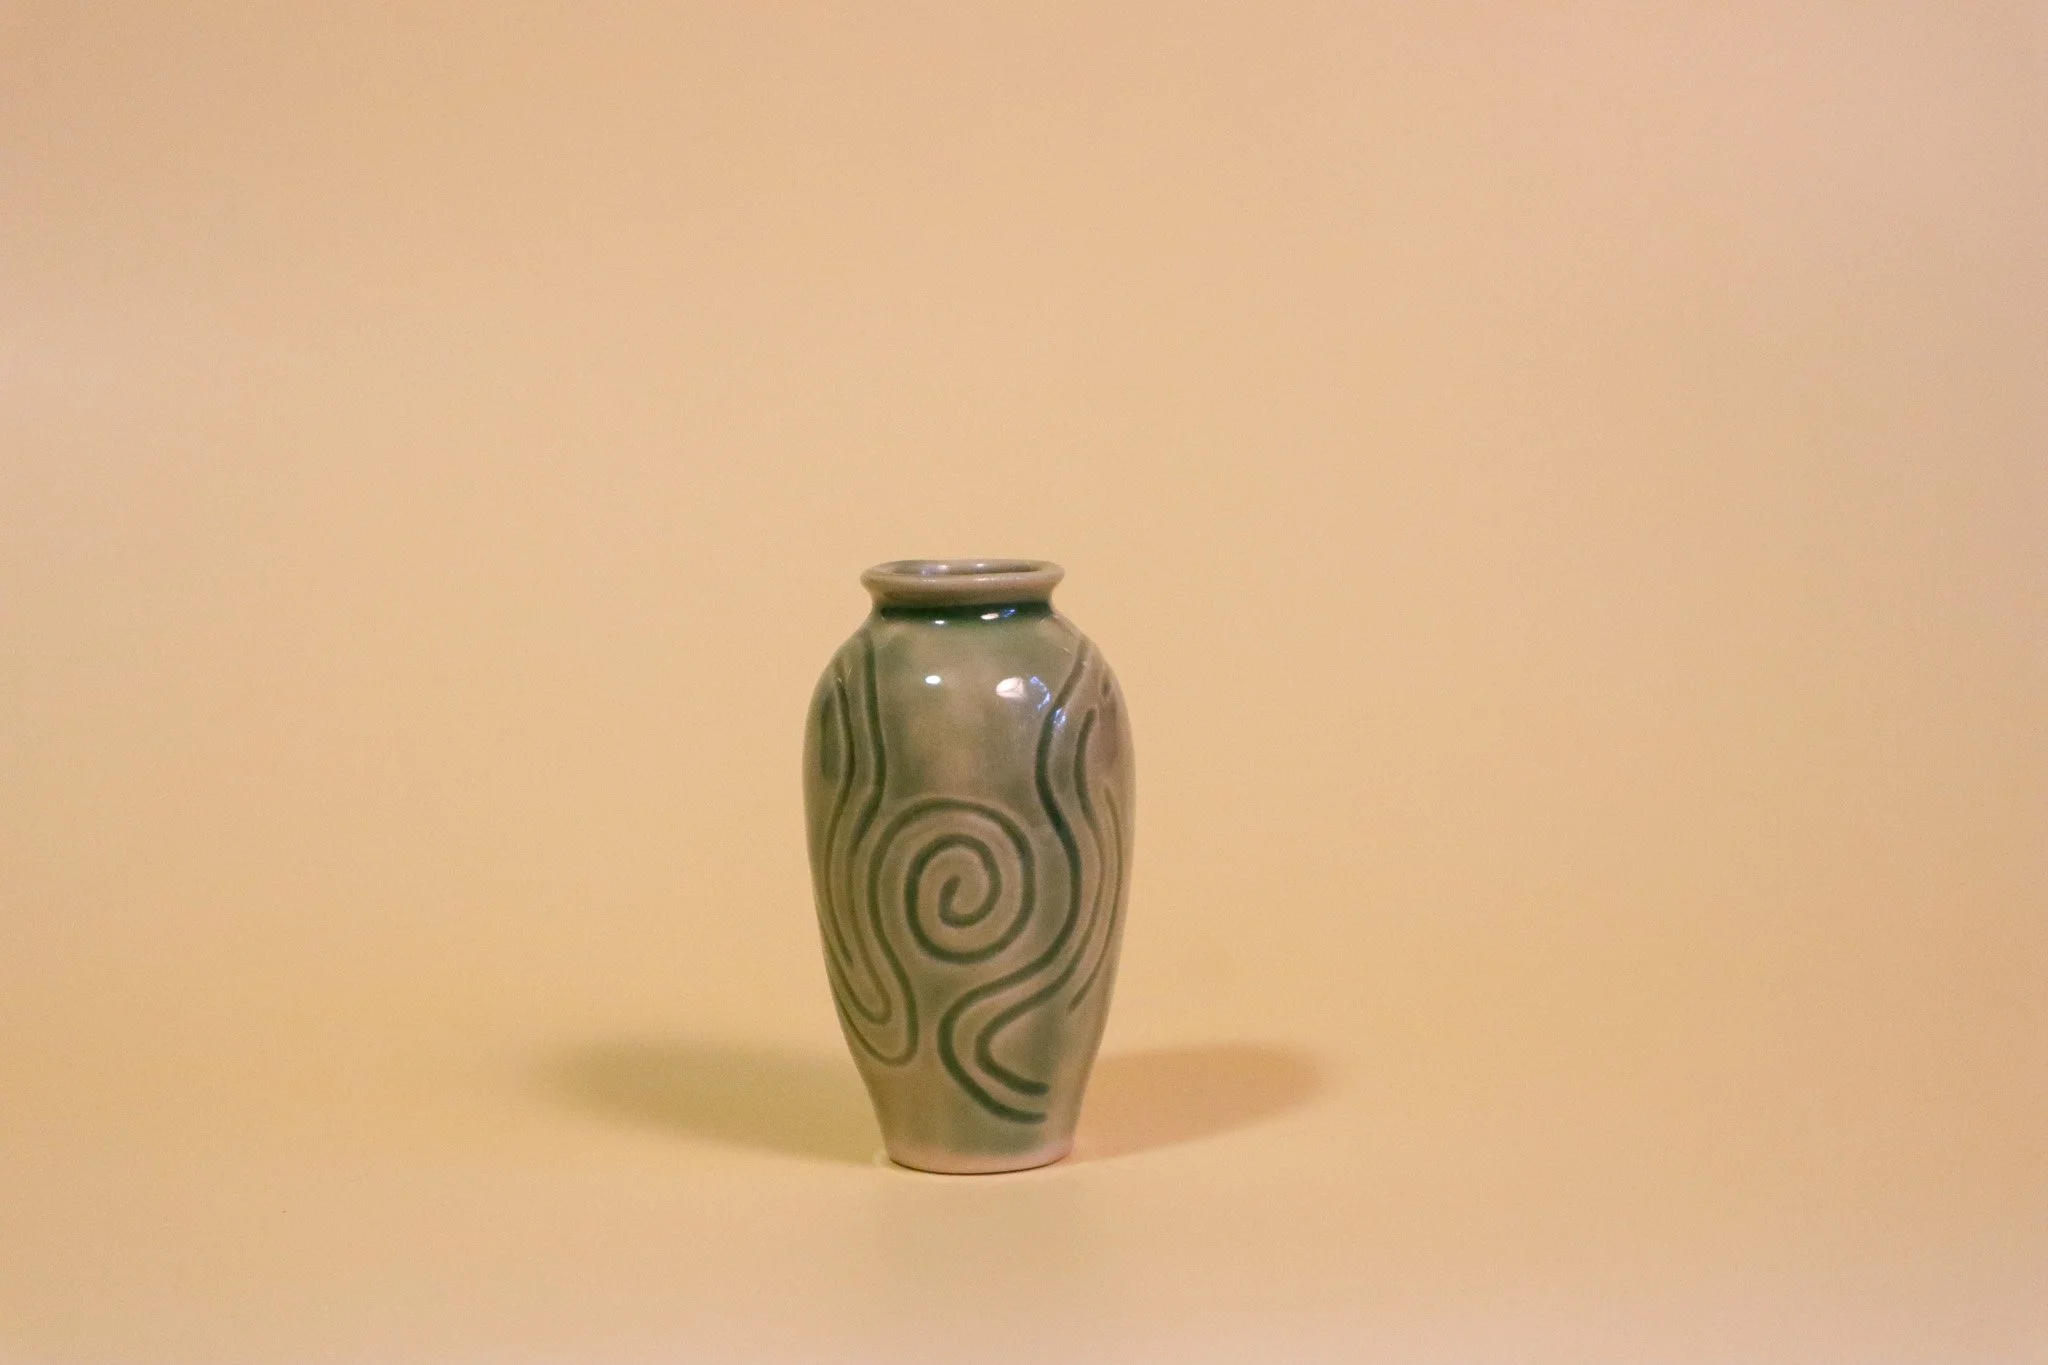
Squiggleware— Celadon Edition
As I felt after my turquoise edition that I had not even scratched the surface of what my squiggle motif could become, I persisted. I chose to work with a smoother clay body and adorn the pieces with smoother glaze, to let my carvings take center stage and not overwhelm the sensory input of someone holding one of my wares.


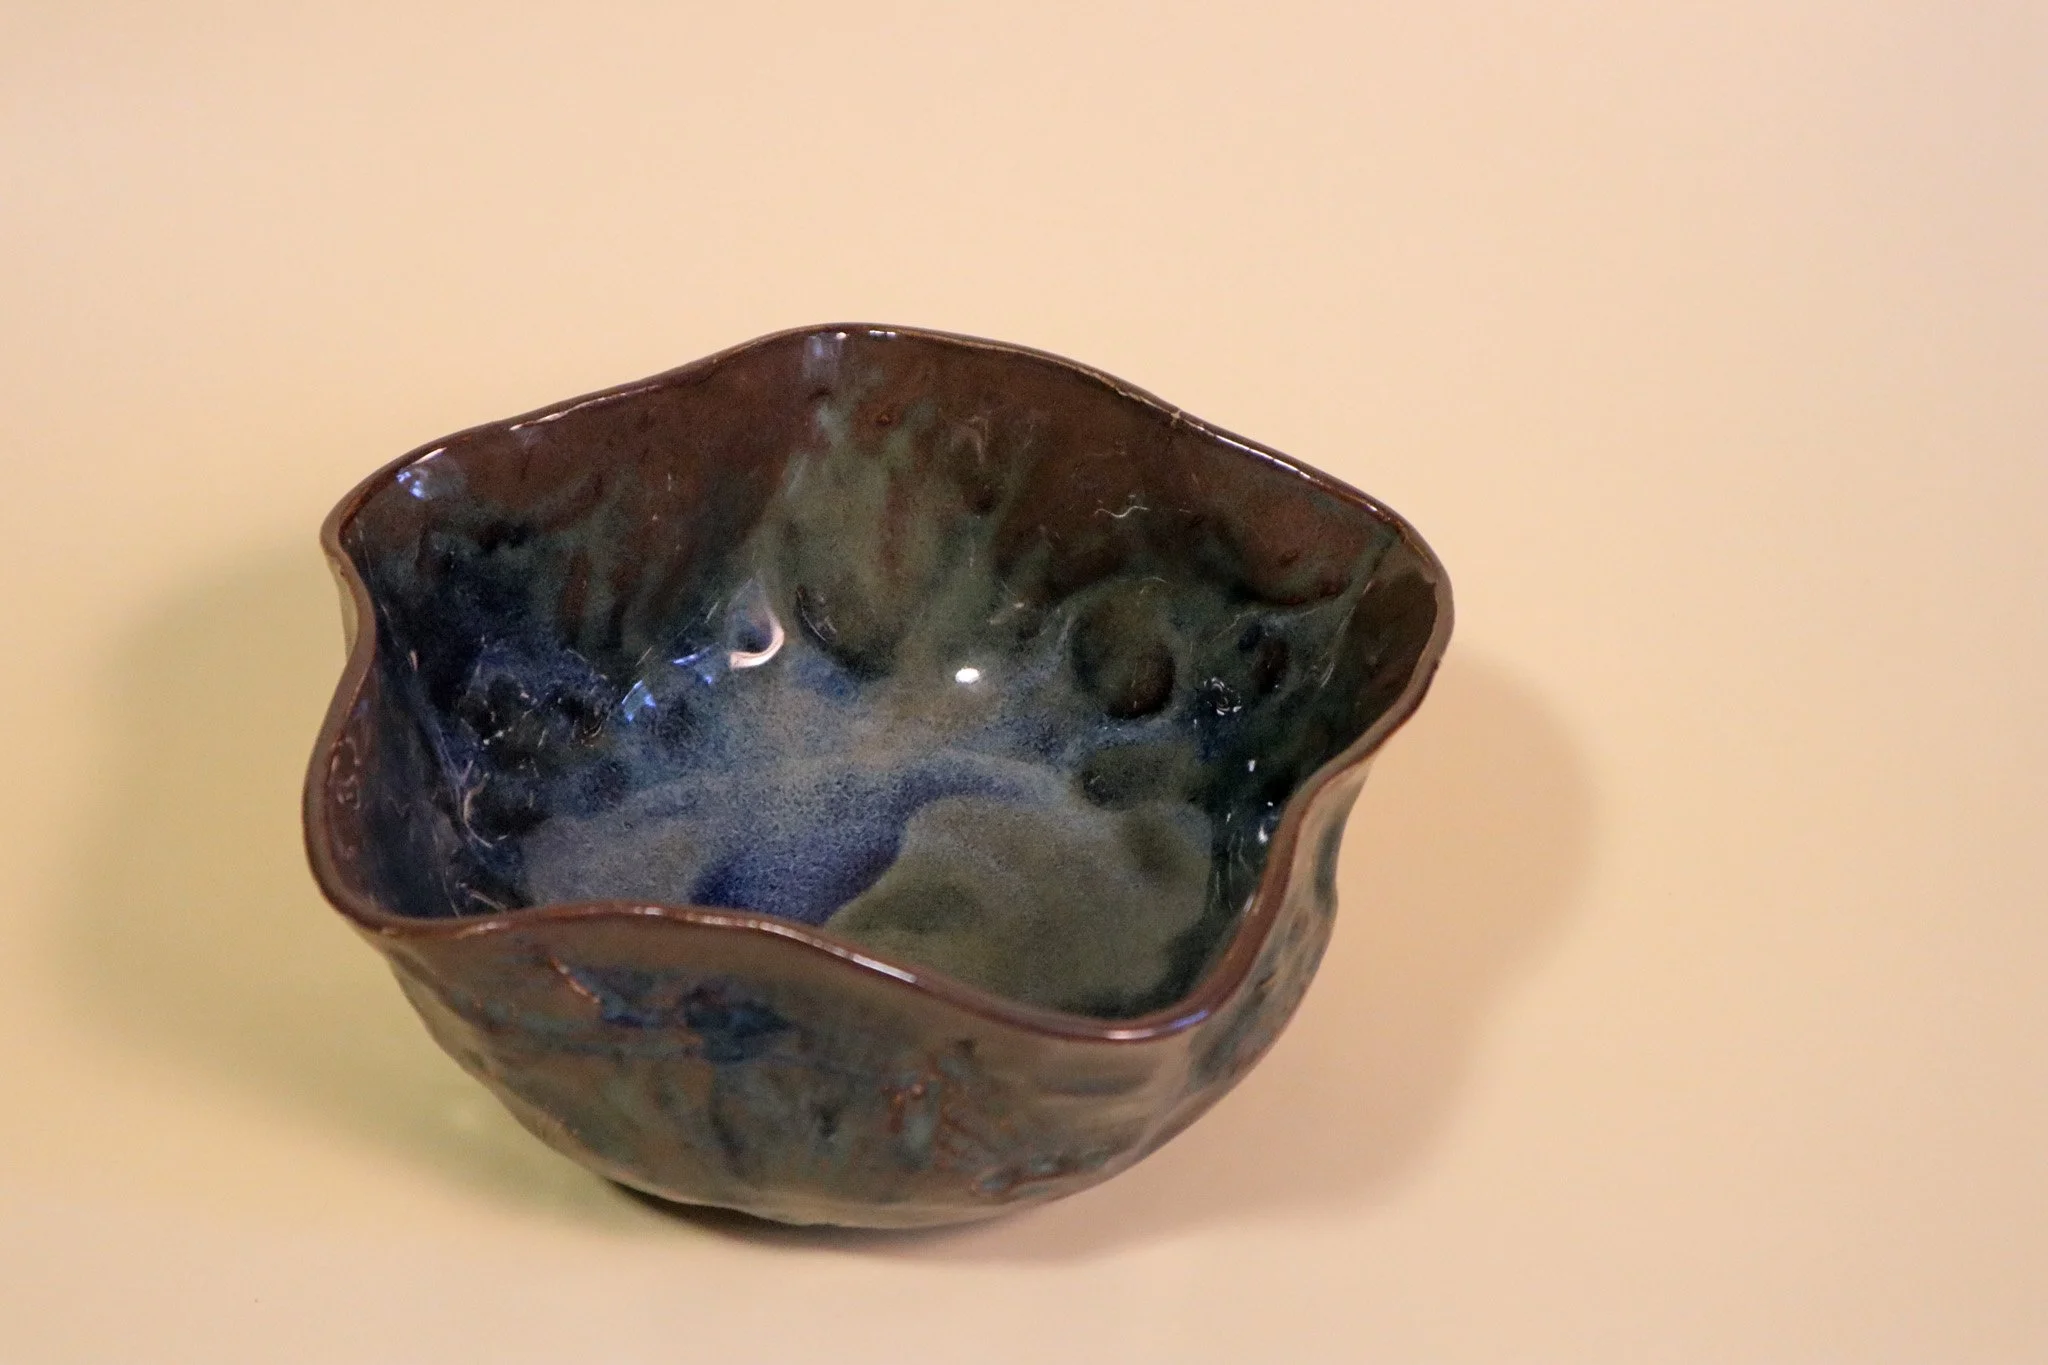
Floating Shells
I am fascinated by clay and it’s impressionability, especially when collecting the imprint of another material. Inspired by fossils of seabeds I grew up seeing in the southwestern US and named partially for the floating blue glaze that makes these pieces pop, I created my “Floating Shells” series.
My method was as organic as my muses. I used shells I’ve collected over the years to leave marks in the clay which imitate my impression of the fossils I’ve seen. Like nature scatters itself across a canvas in a seemingly uncalculated manner, so did I scatter the pressing of shells!


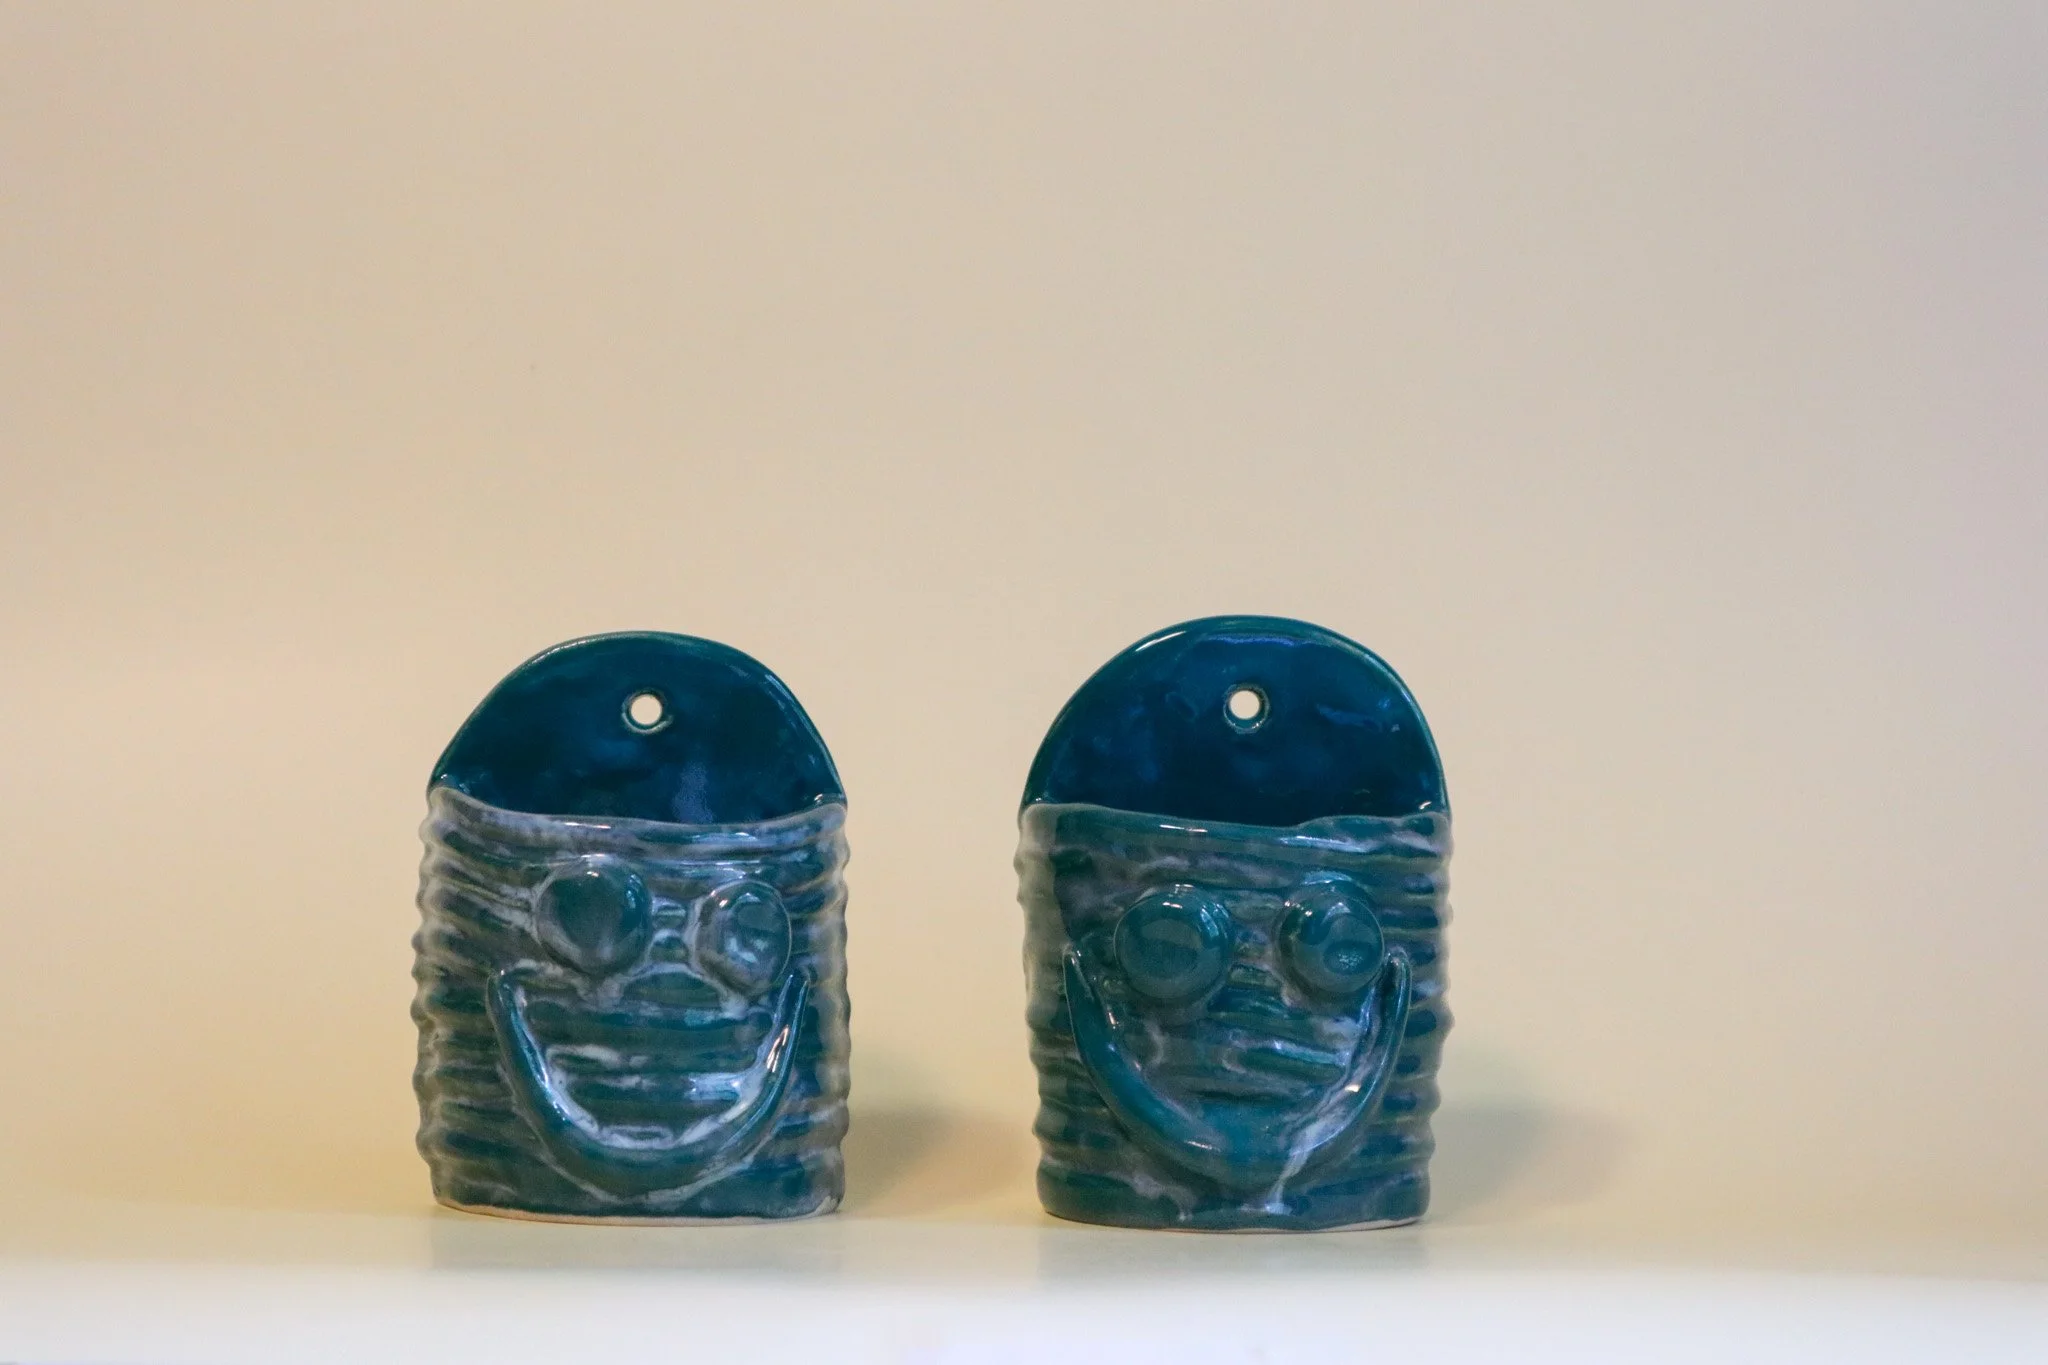
Squiggleware– Evening Sky Candleholders
I was commissioned to make three candleholders for handmade candles. The patron enjoyed my squiggle motifs and wanted that adapted to their tastes. I created one large holder for the biggest candle, and two smaller vessels with a wide lip to catch and hold the wax of two spherical candles.


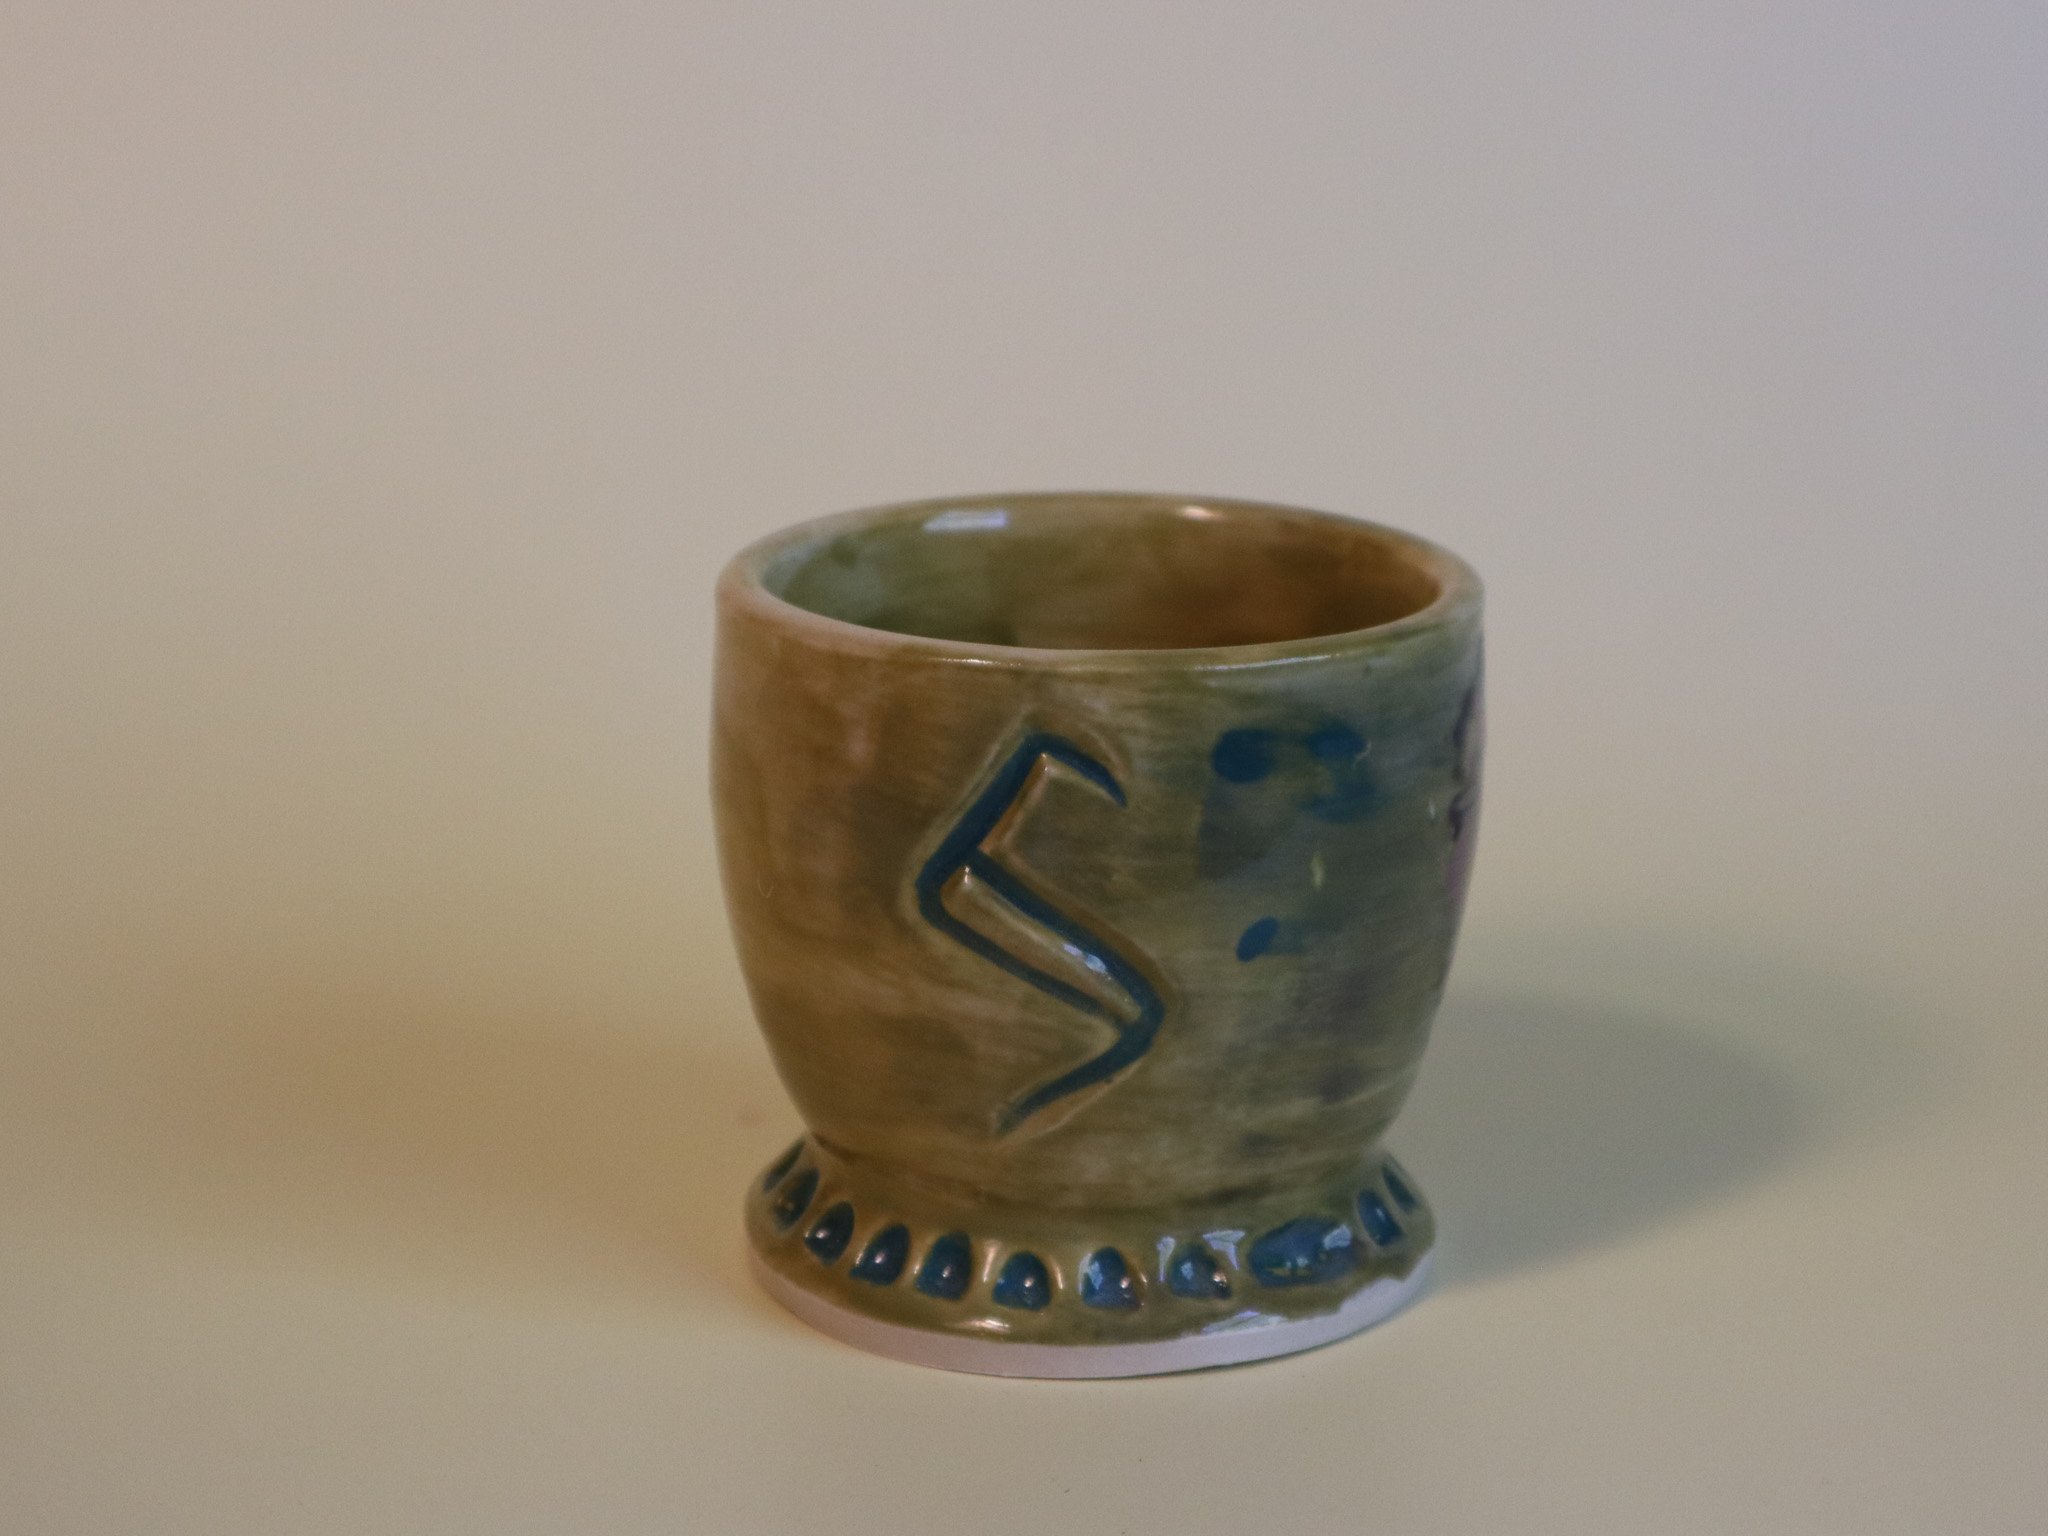
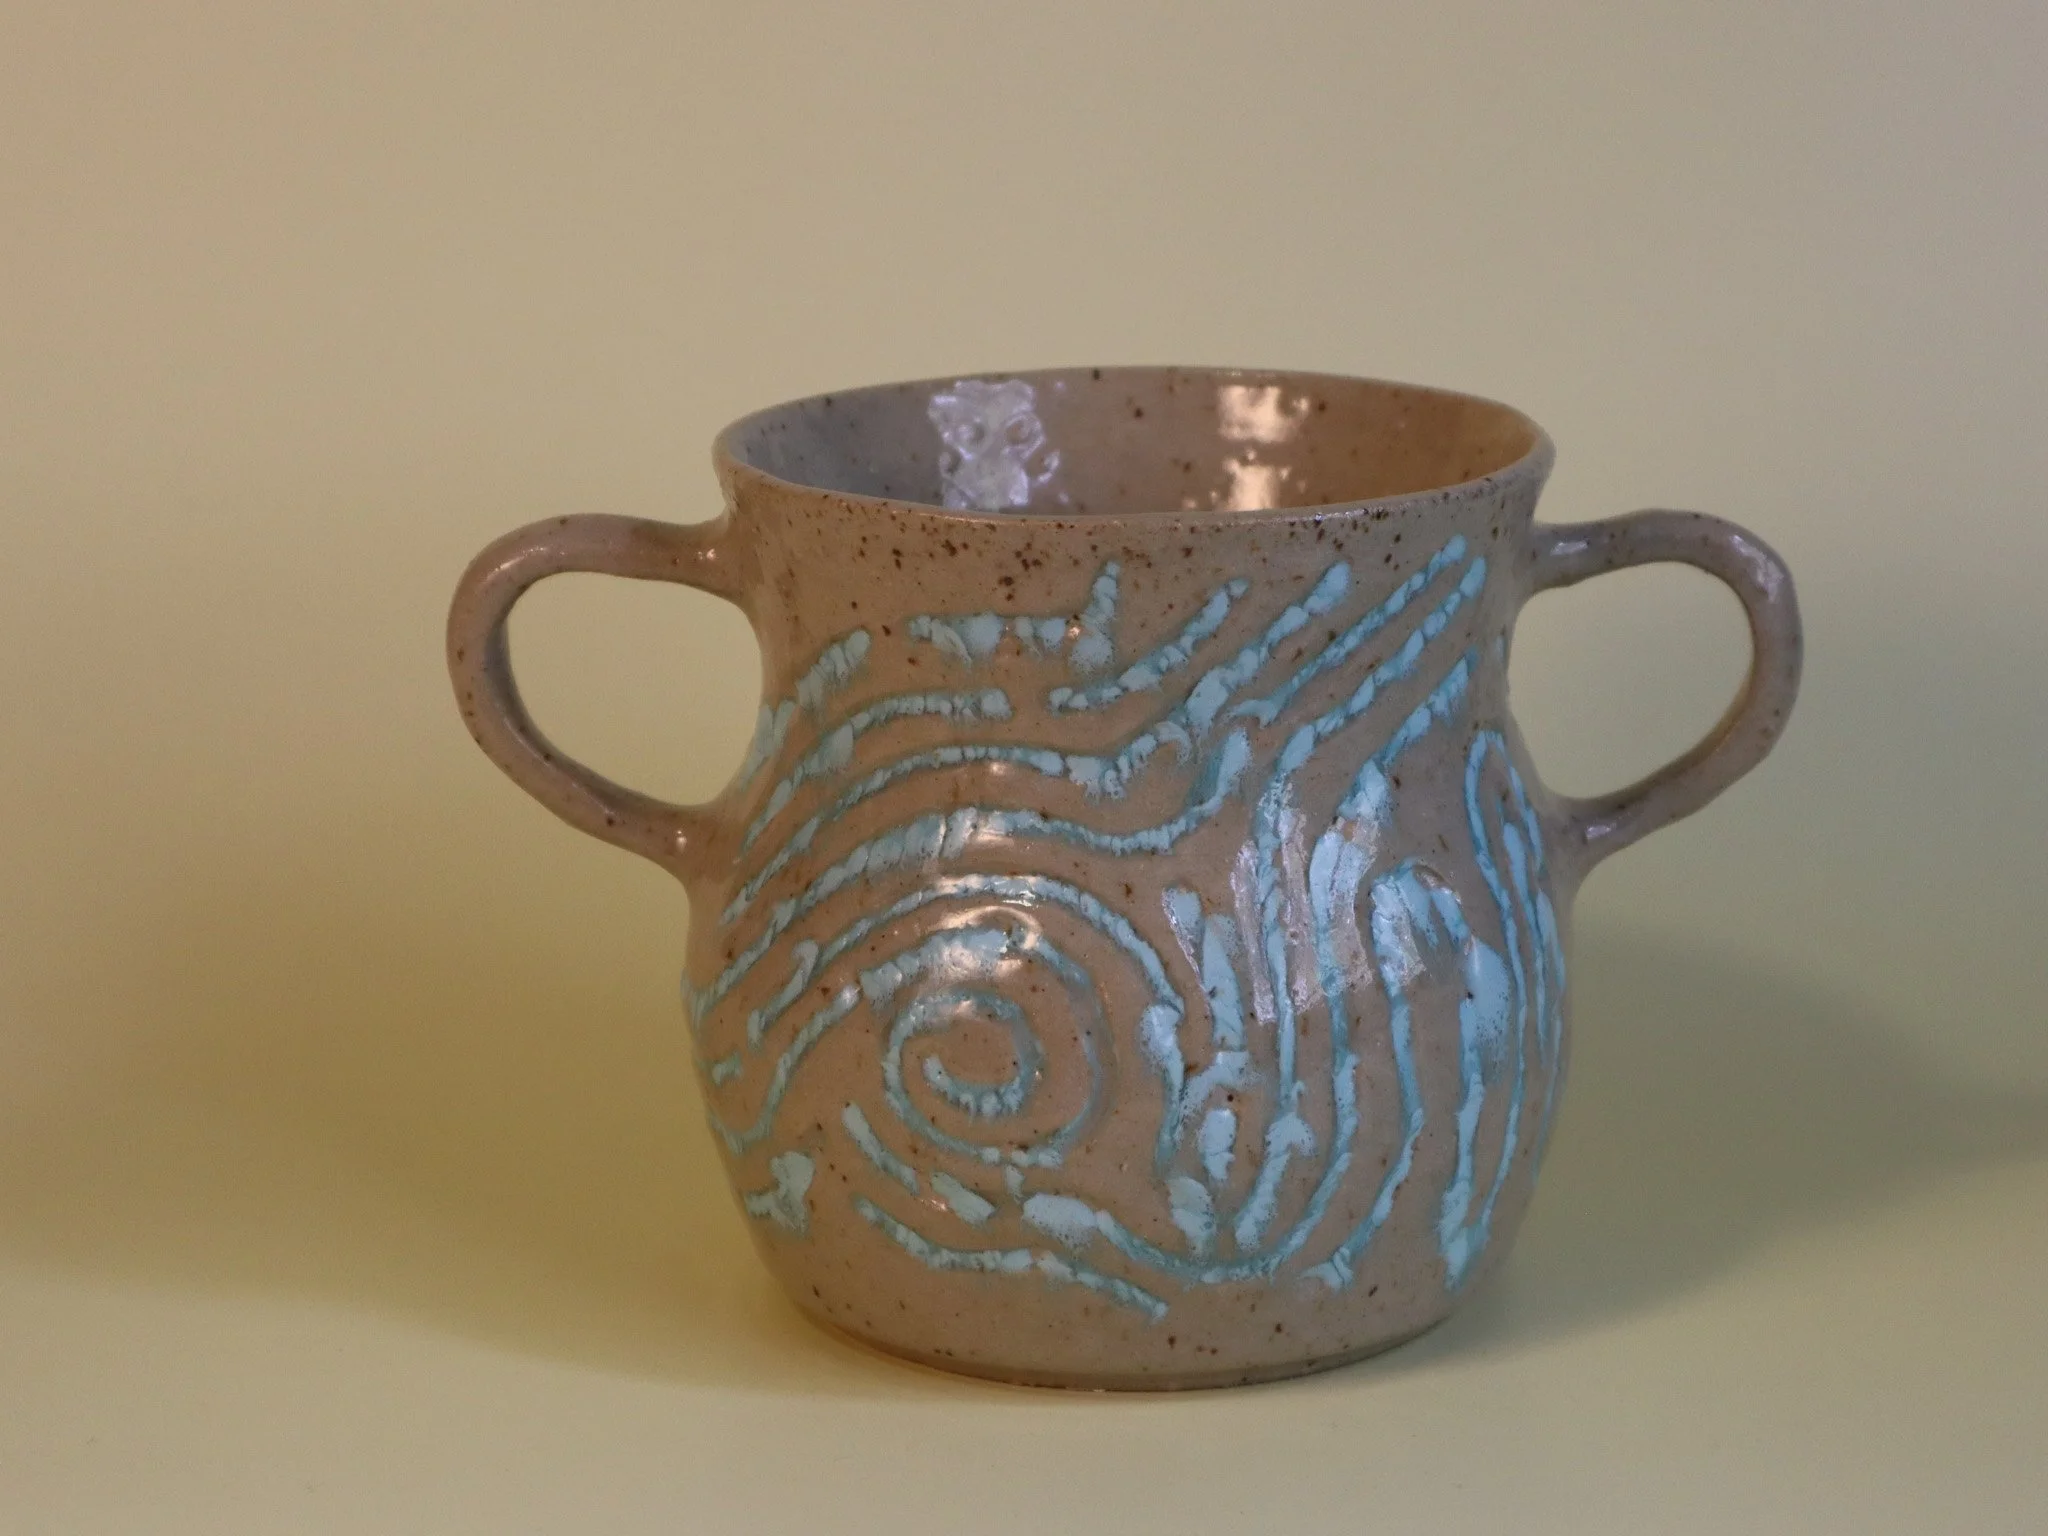
Lavender Haze
Purple or lavender colors can sometimes have a calming effect on a viewer. Though, in color psychology it is hailed as the color of creativity. Perhaps for this reason, I feel compelled to glaze pieces purple when I am trying out a new technique. Each of the pieces in the lineup are crafted from a variety of techniques, including coil building, wheel-throwing, carving, slab building, slip-trailing, and more.


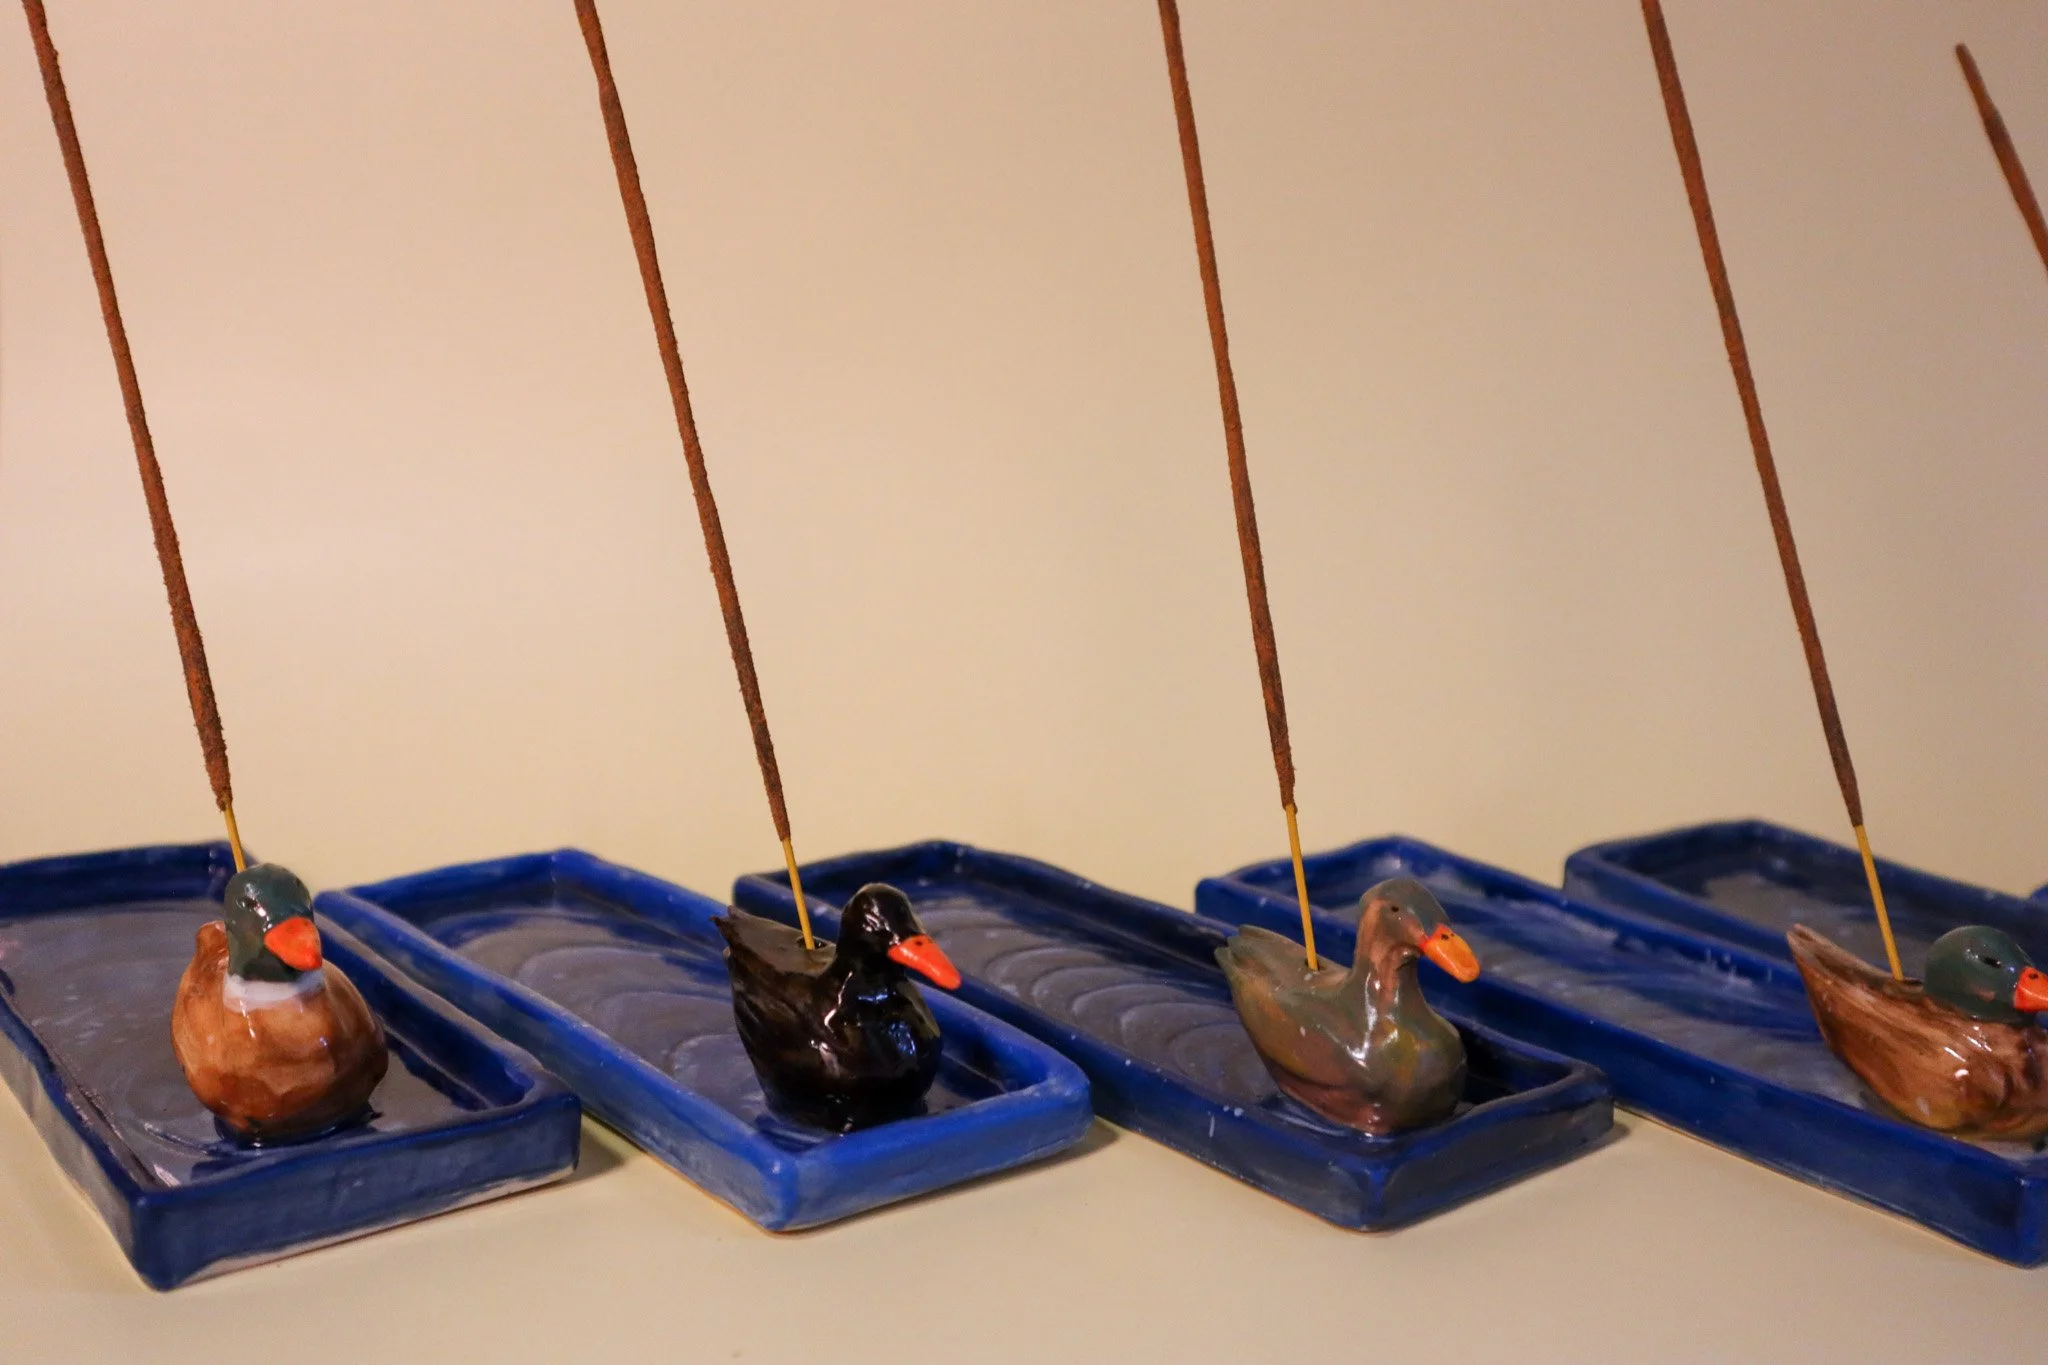
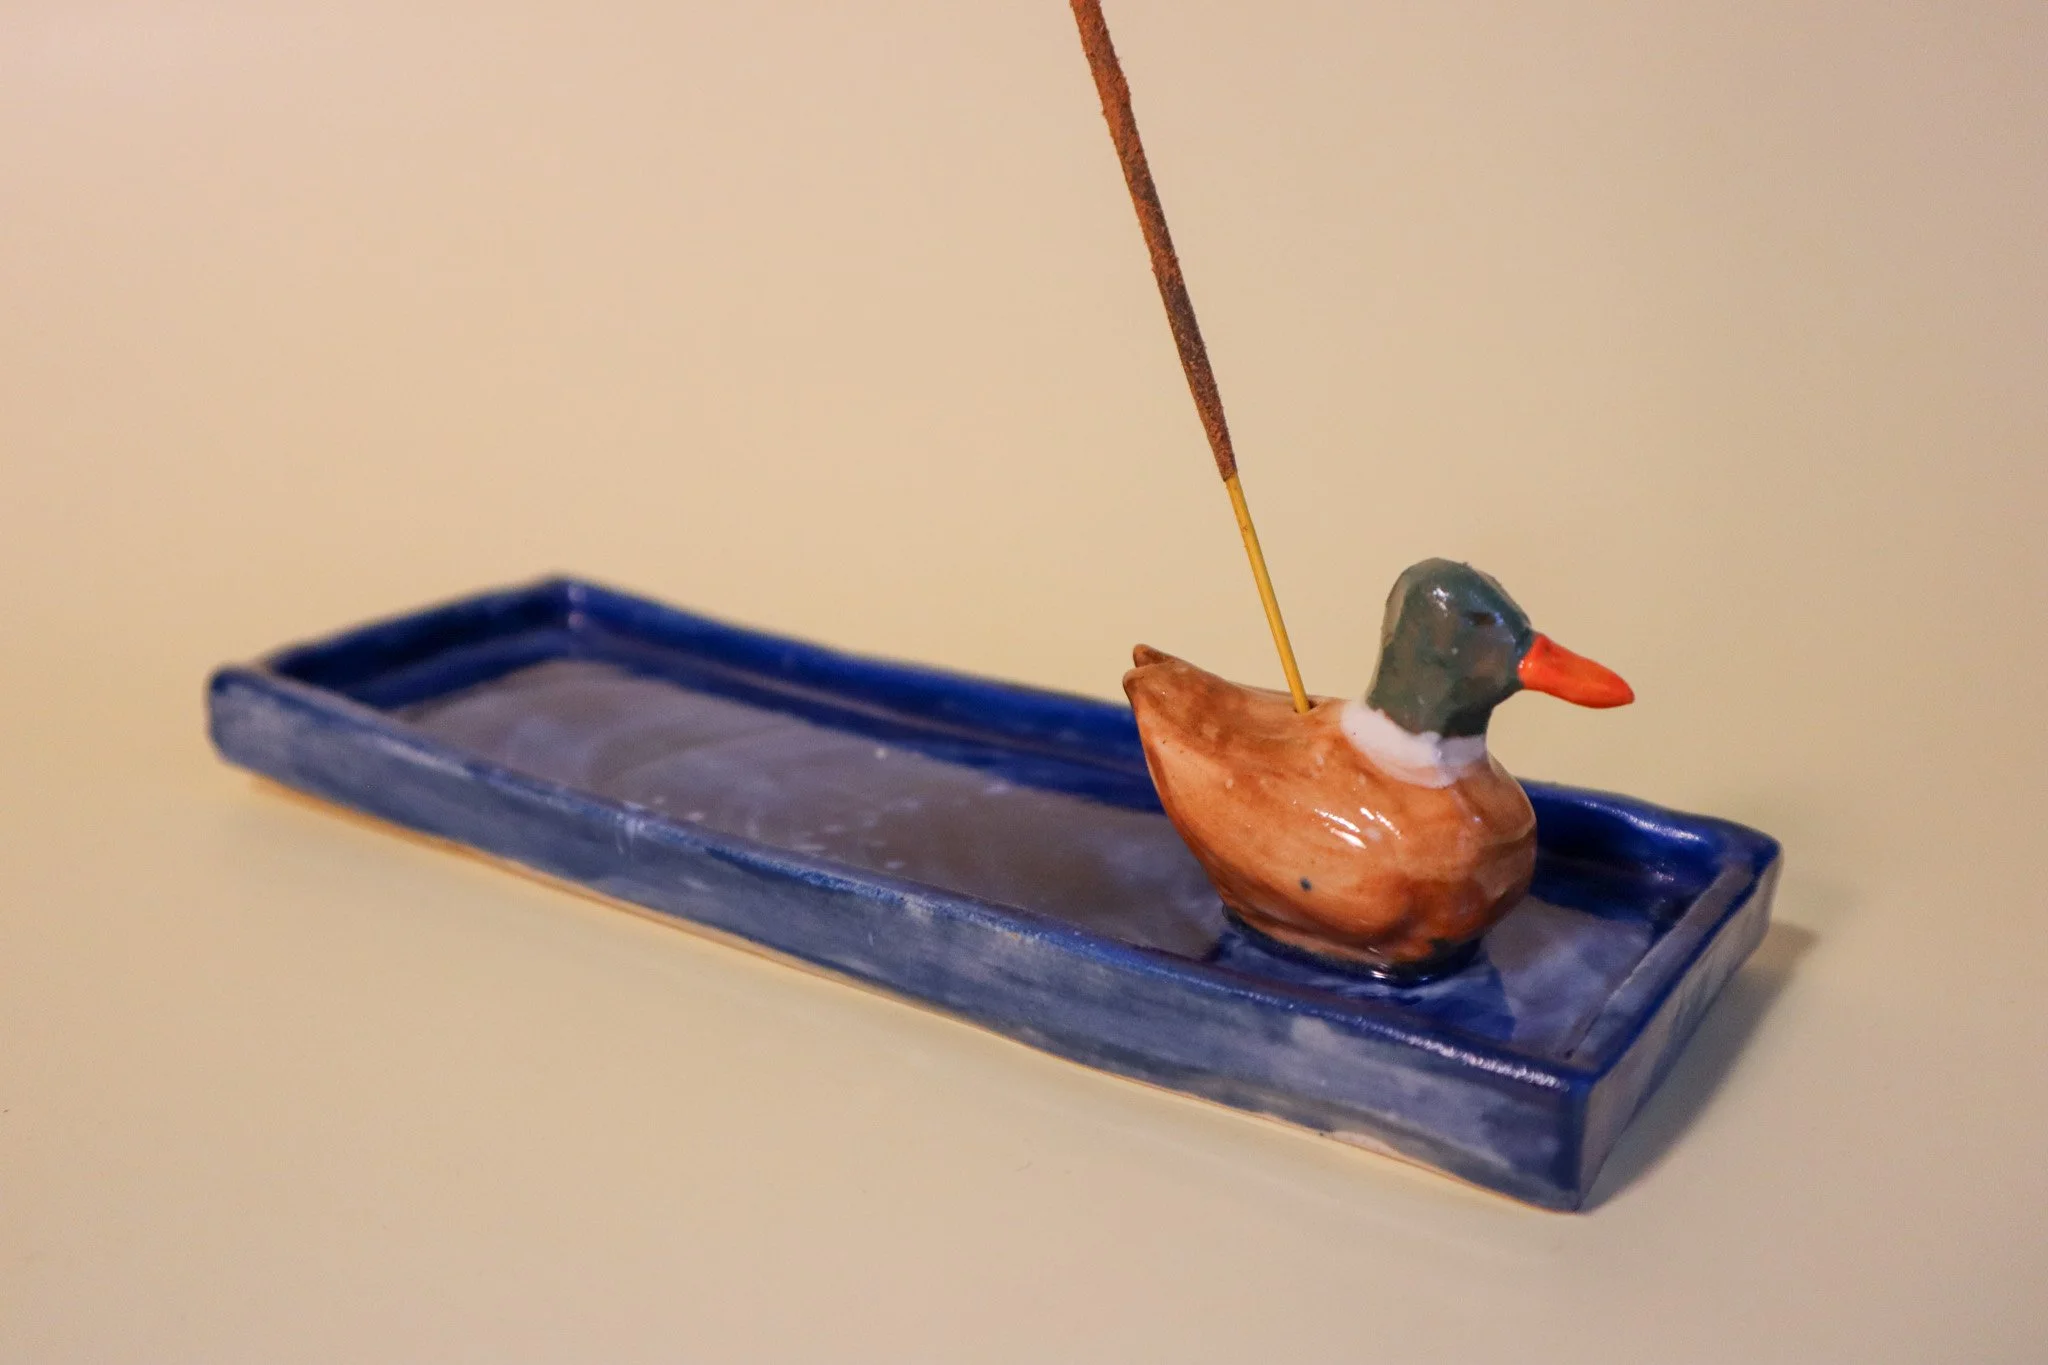
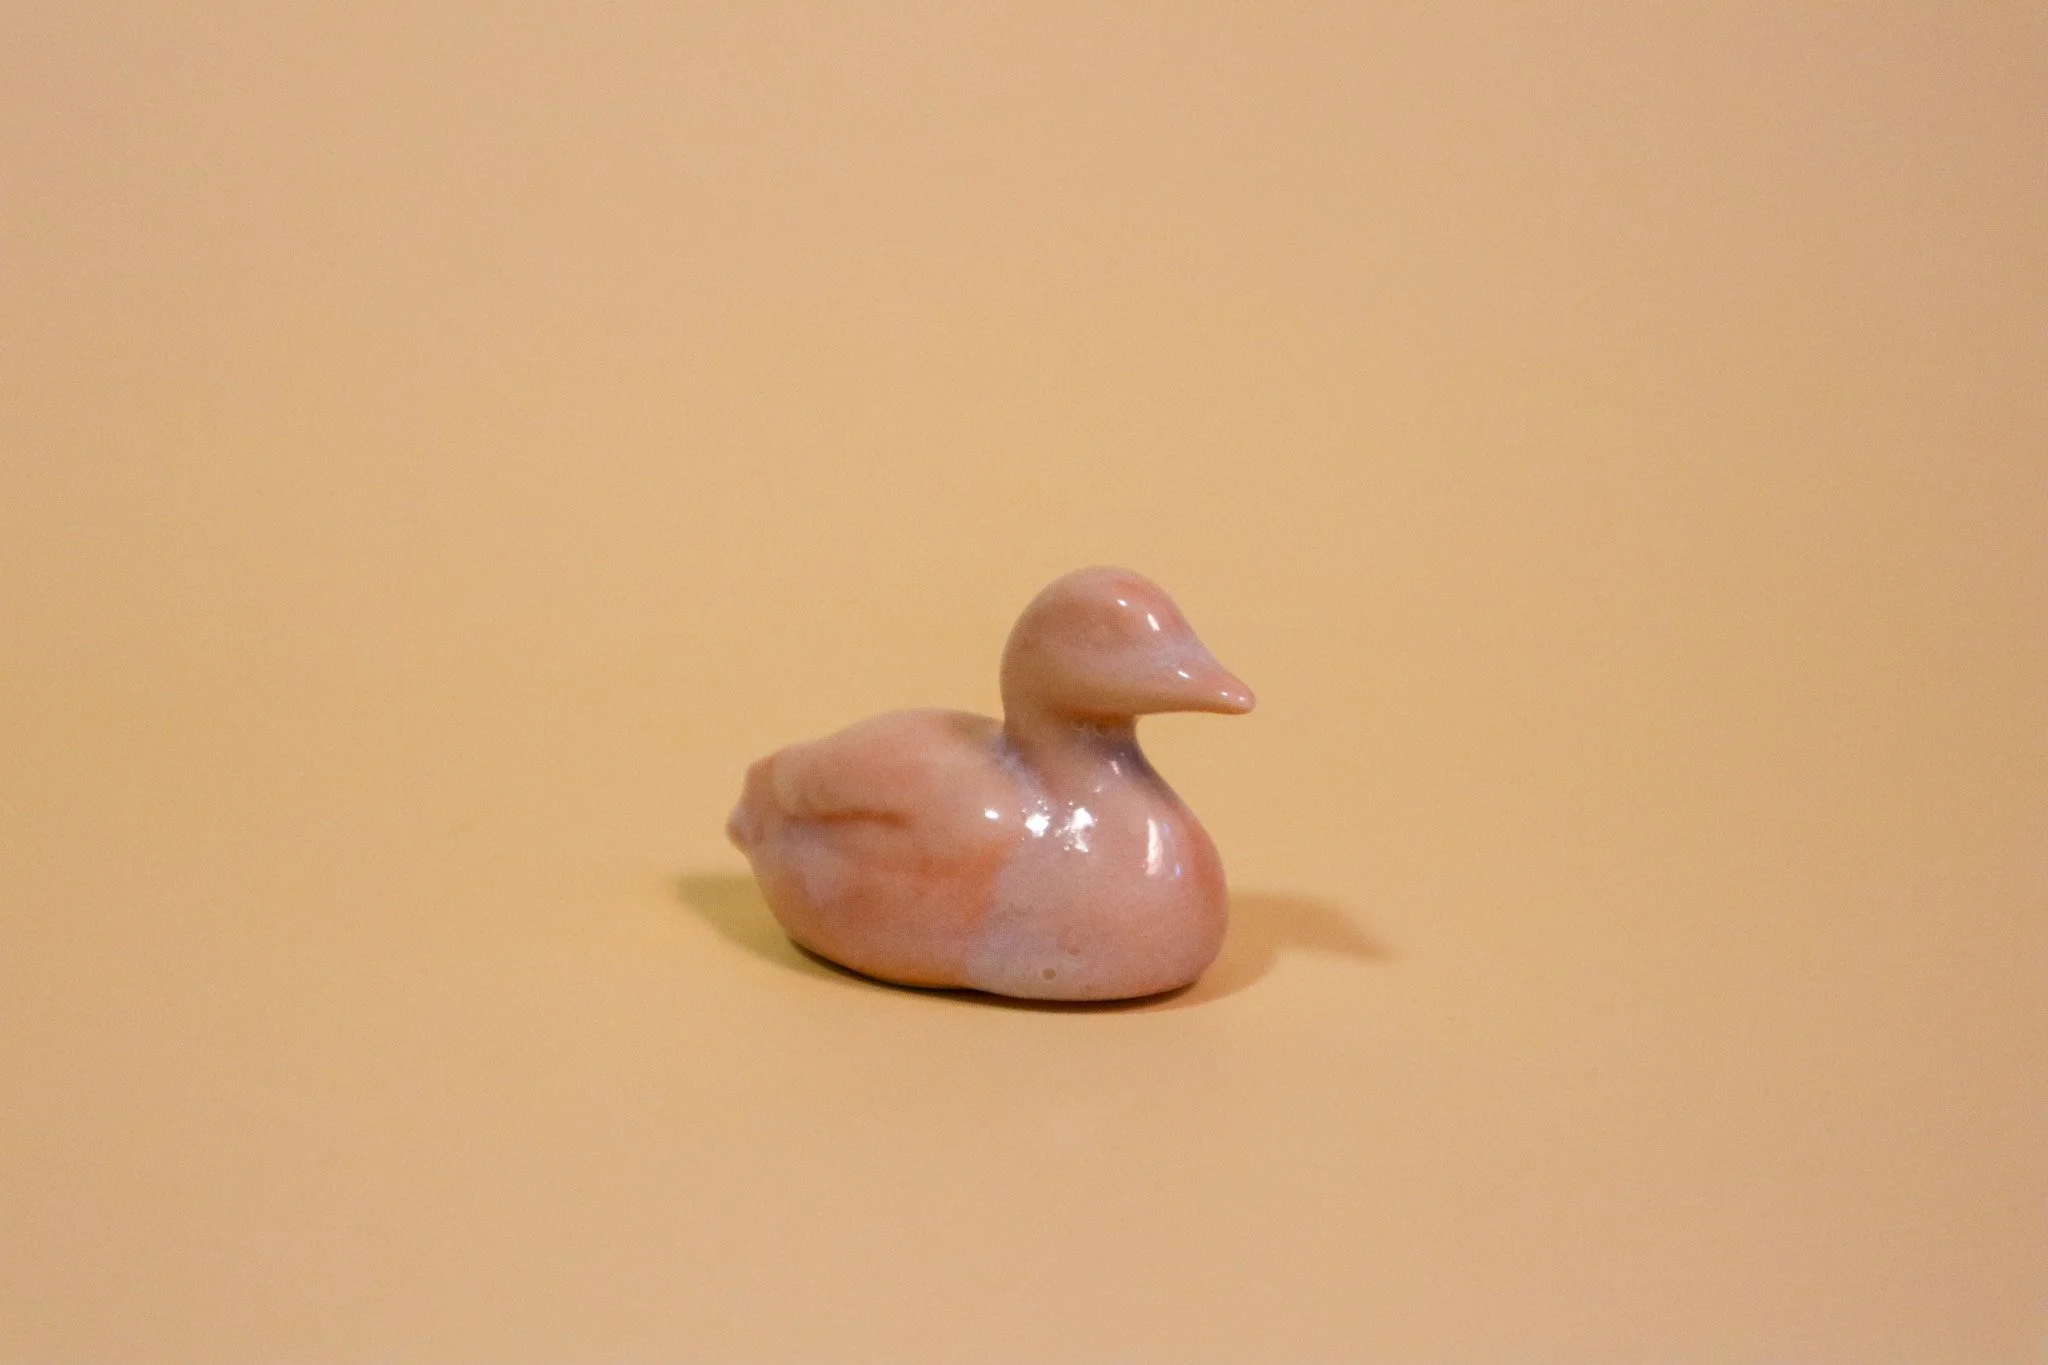
Ducks and Other Creatures
Ducks have a long history of being carved out of wood, mostly for the purpose of hunting decoys. However, carving darks became a respected and sought-after art form in the 19th century. After becoming enamored with the care and craftsmanship put into carved ducks, I wondered if I could incorporate the art into my clay practice. My ducks soon expanded into sculpting other small and delightful trinkets, some with a use and some without. The love of the concept of ducks does still remain.


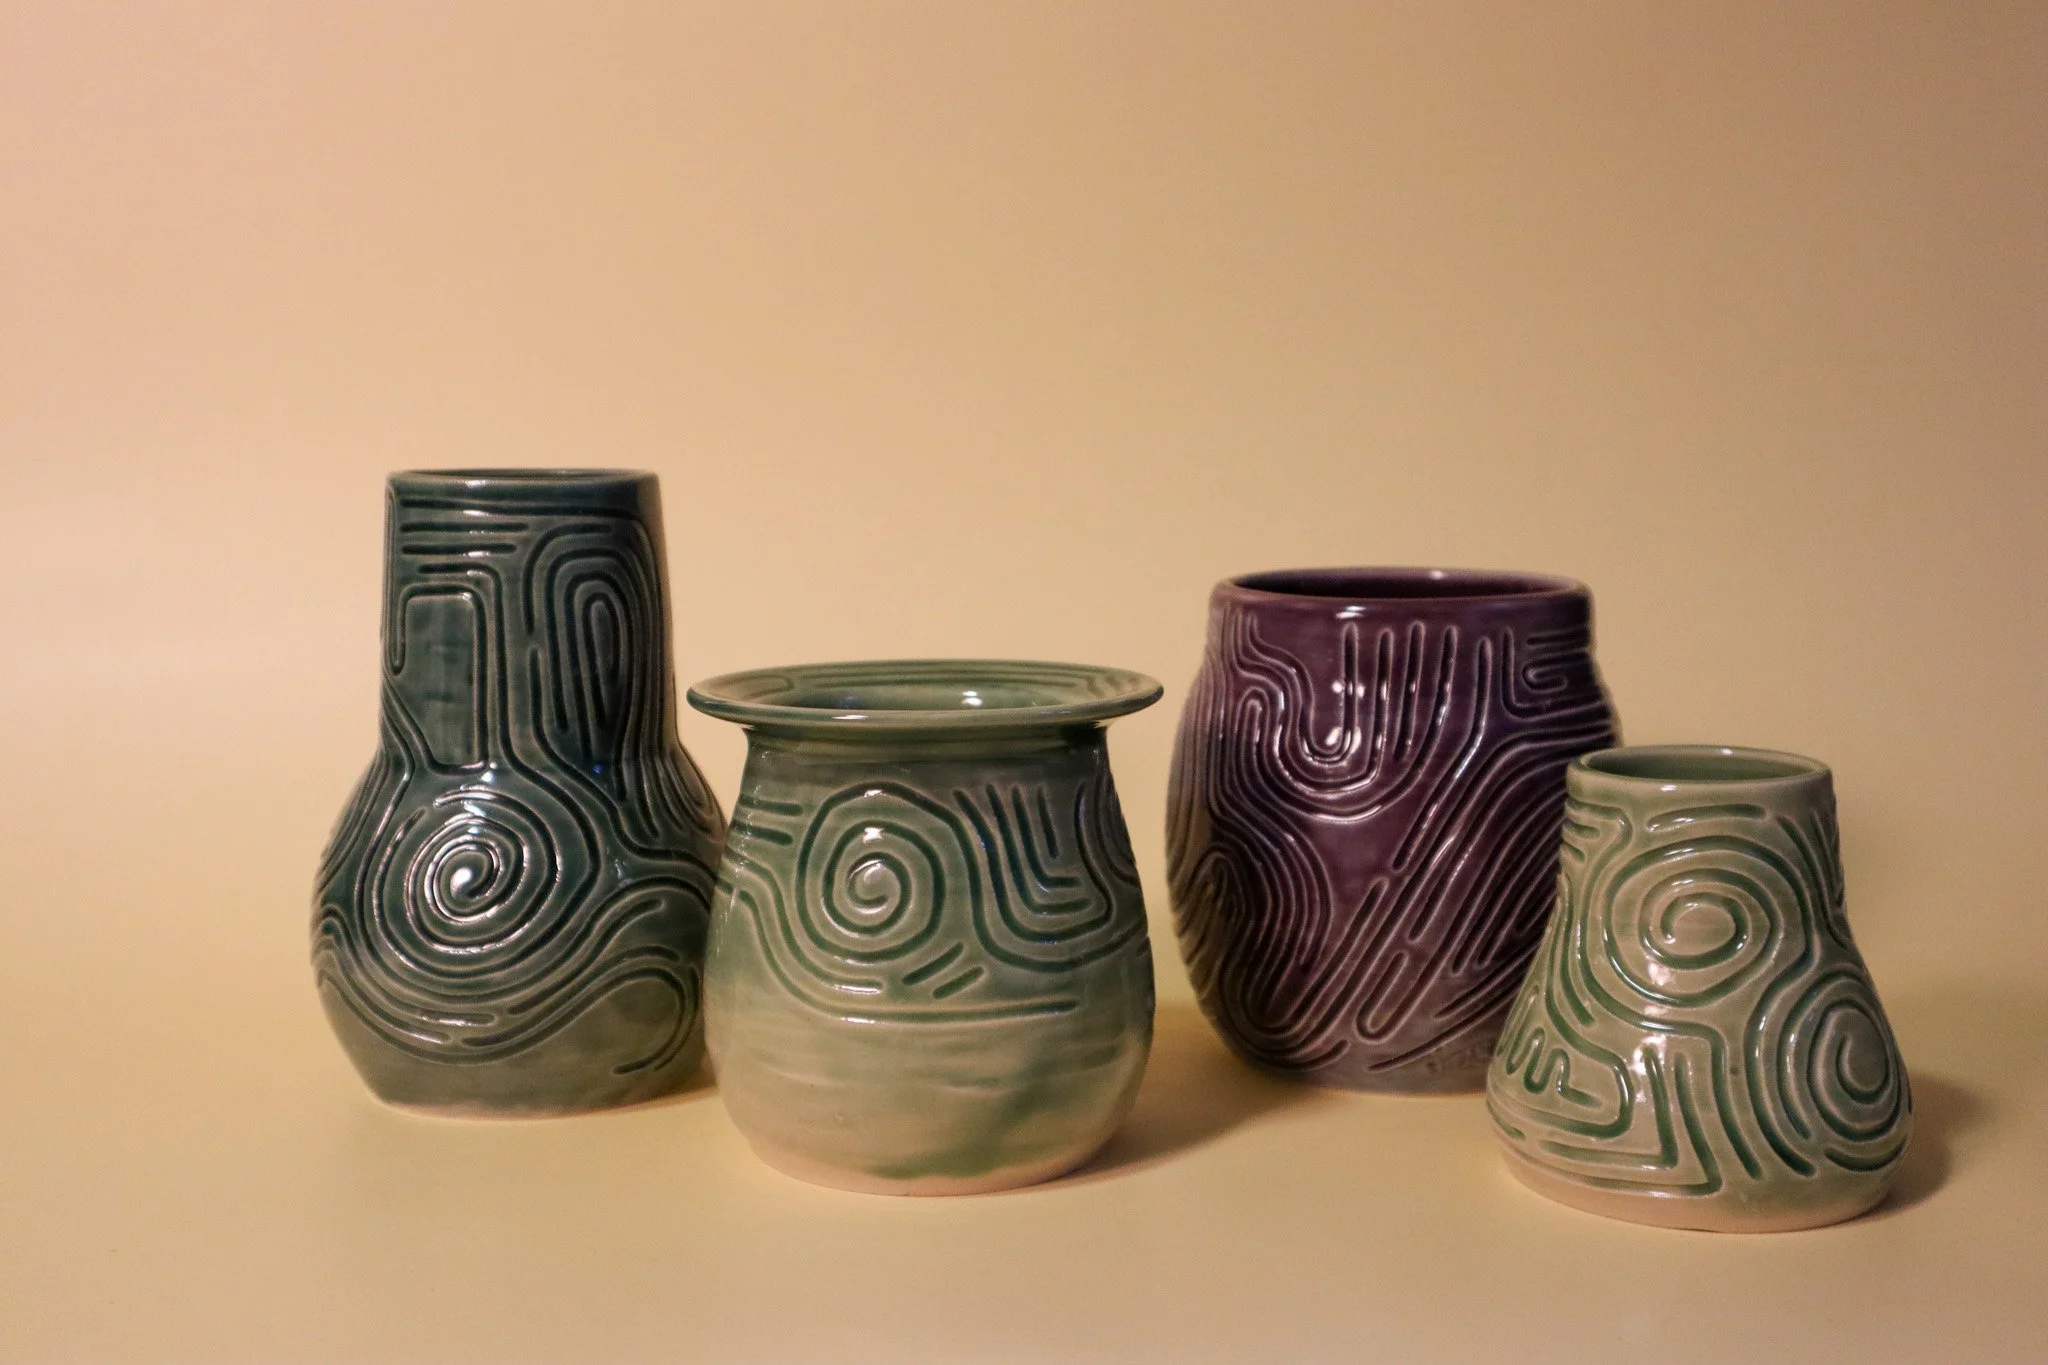
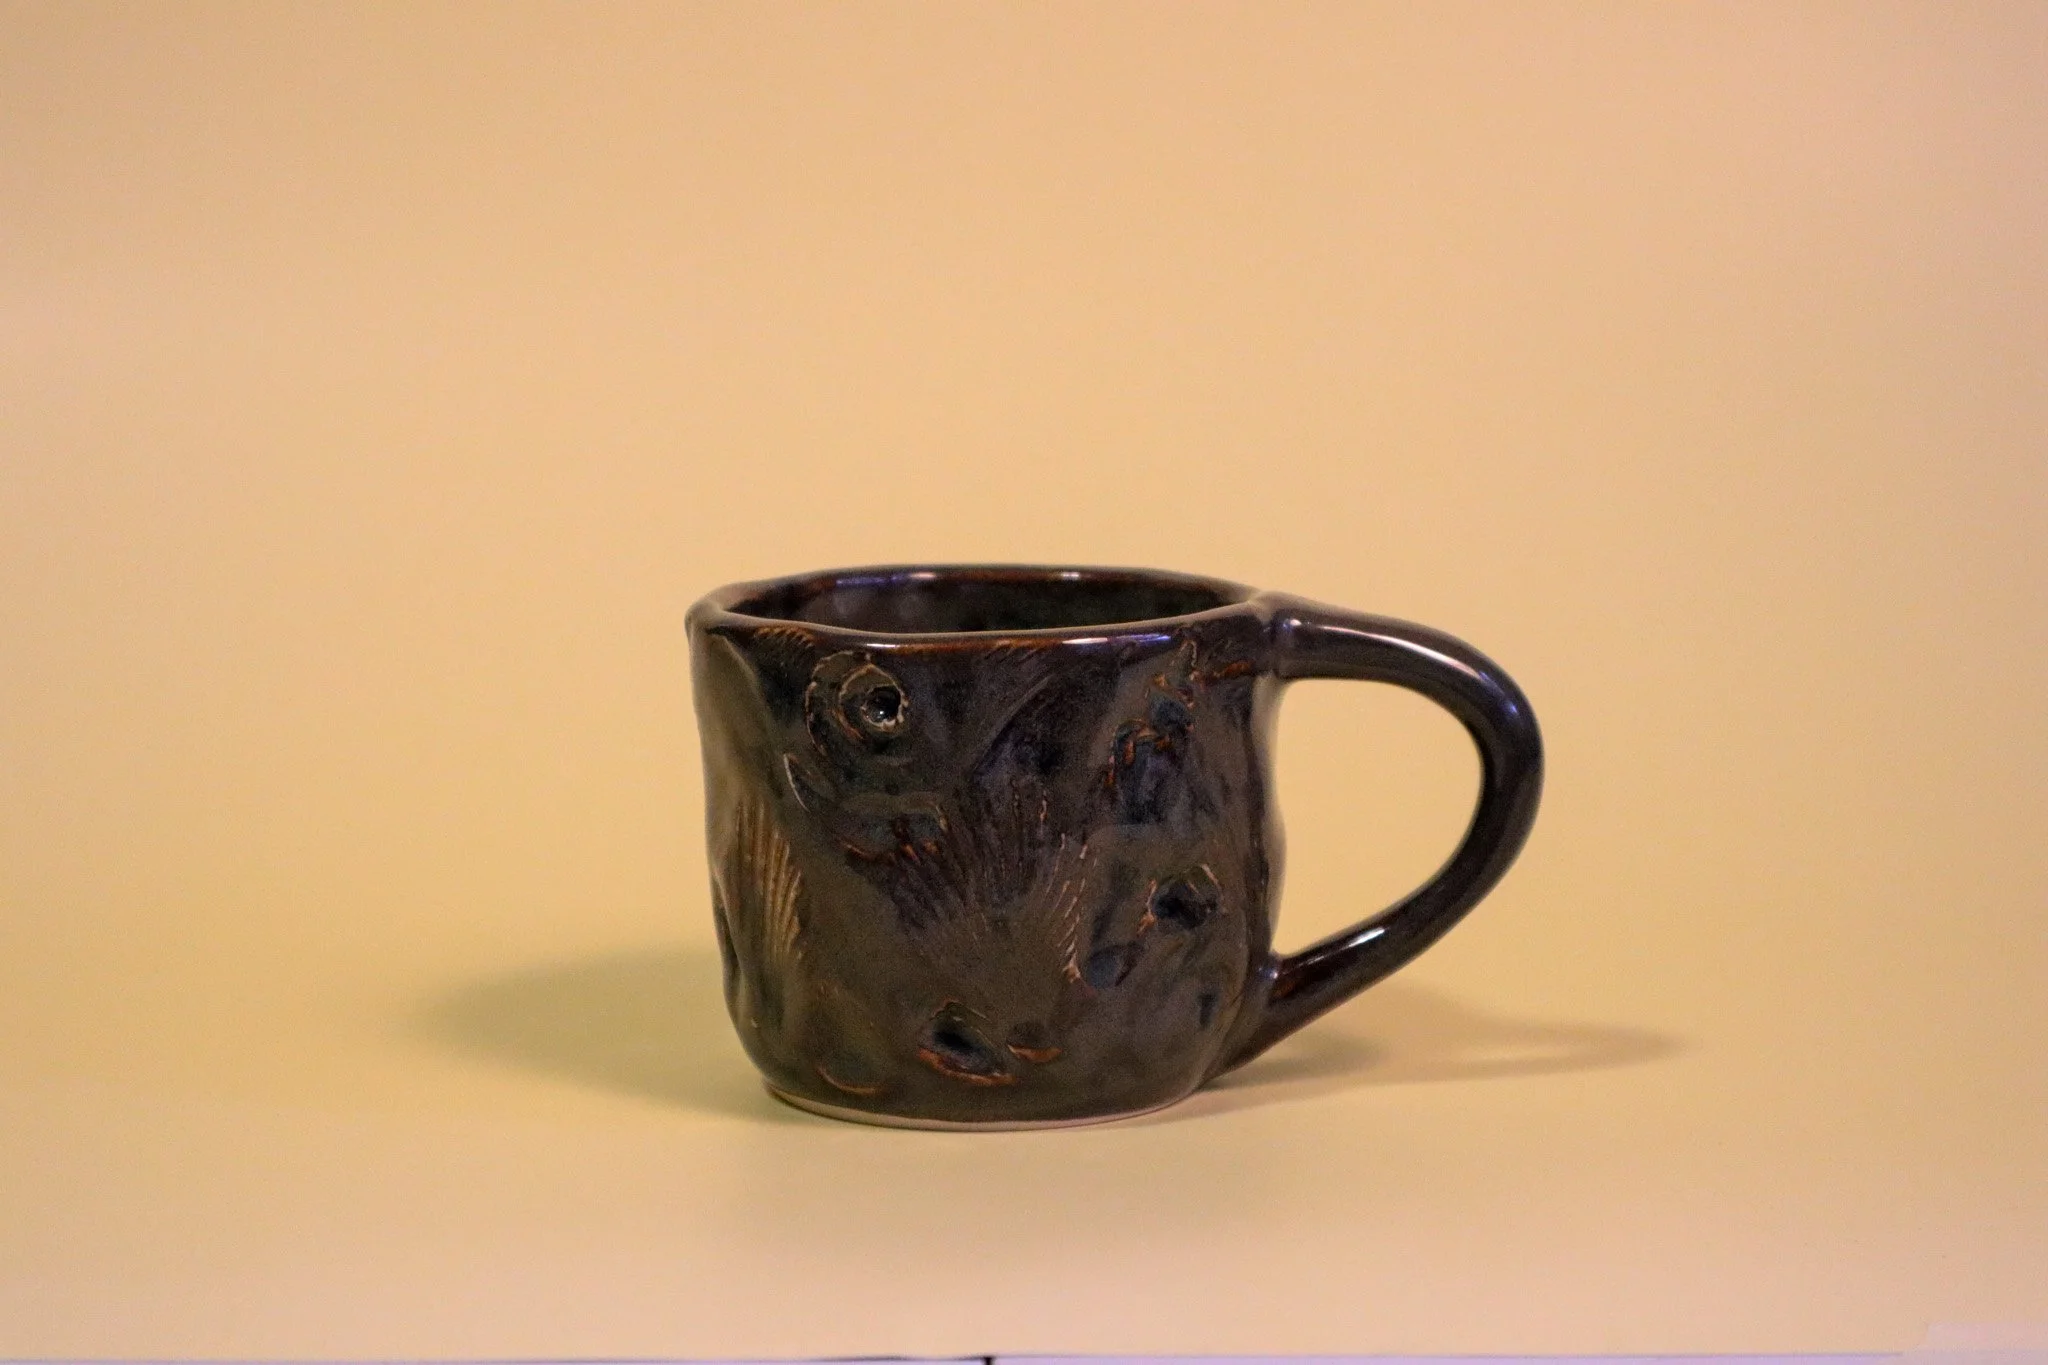
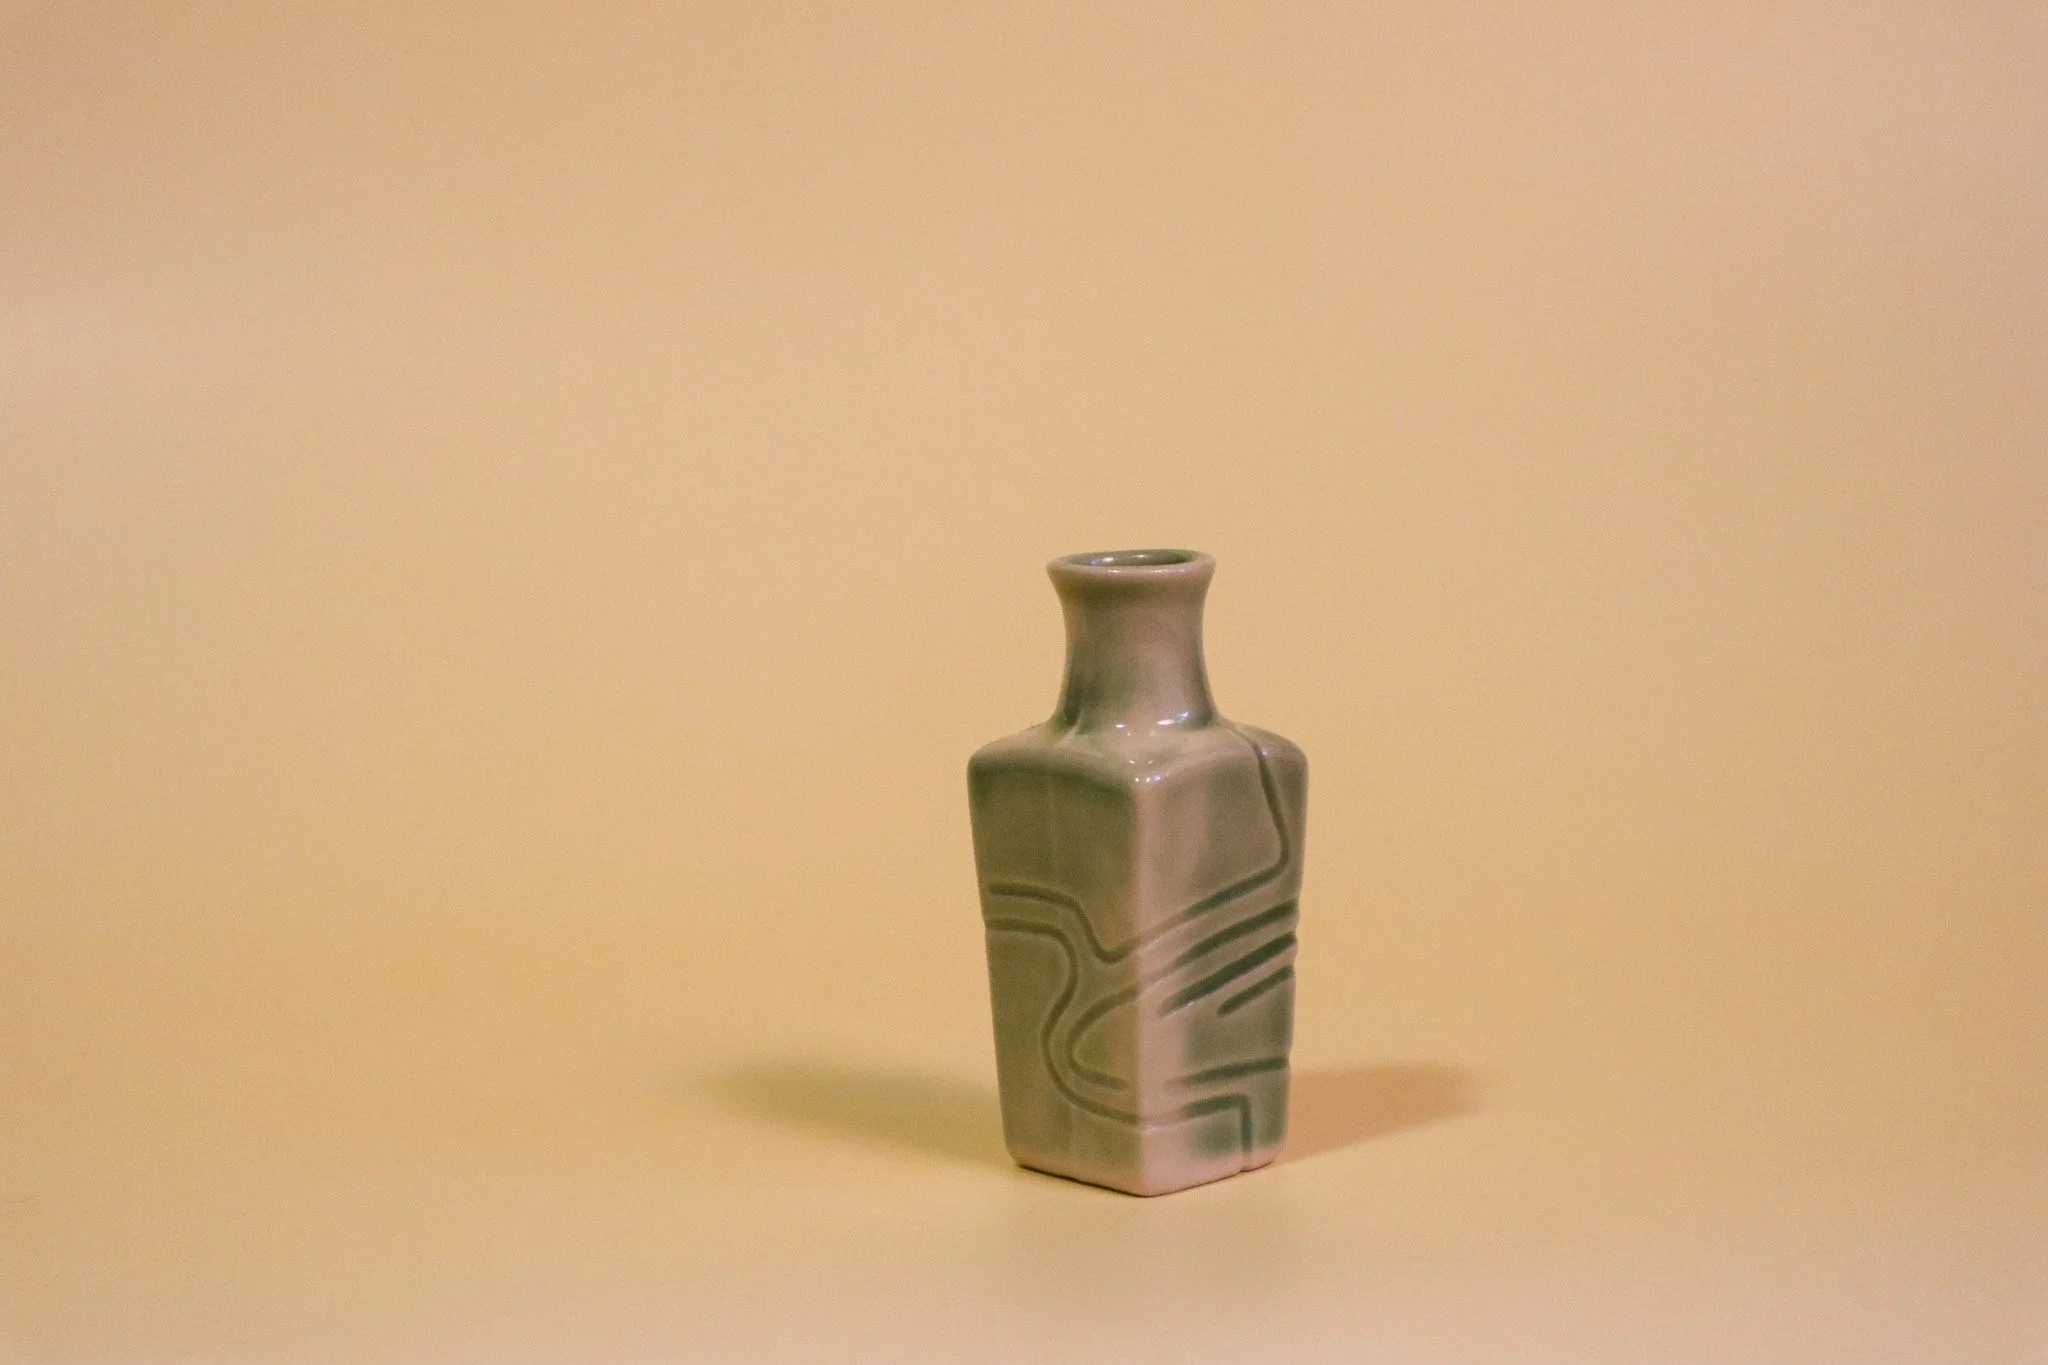
Squiggleware– Turquoise Inlay Edition
At first, I started with a few mugs. My goal was to keep making mugs until they no longer brought me anguish. What seems like the simplest form is riddled with ergonomic quirks one doesn’t notice until they hold a mug that just feels… wrong. A mug must have walls and a bottom that aren’t too thick and aren’t too thin. A mug handle must complement the weightiness (of lack thereof) of the vessel it adheres to, plus it must have contours to go along. Finally, controlling the moisture levels within the clay from mug body to mug handle takes finessing and patience I didn’t know I possessed– especially in the dry climate I inhabit. These things aside, I am an artist. I could not be satisfied creating all these things without adding more of my personal touch, so Squiggleware was born!


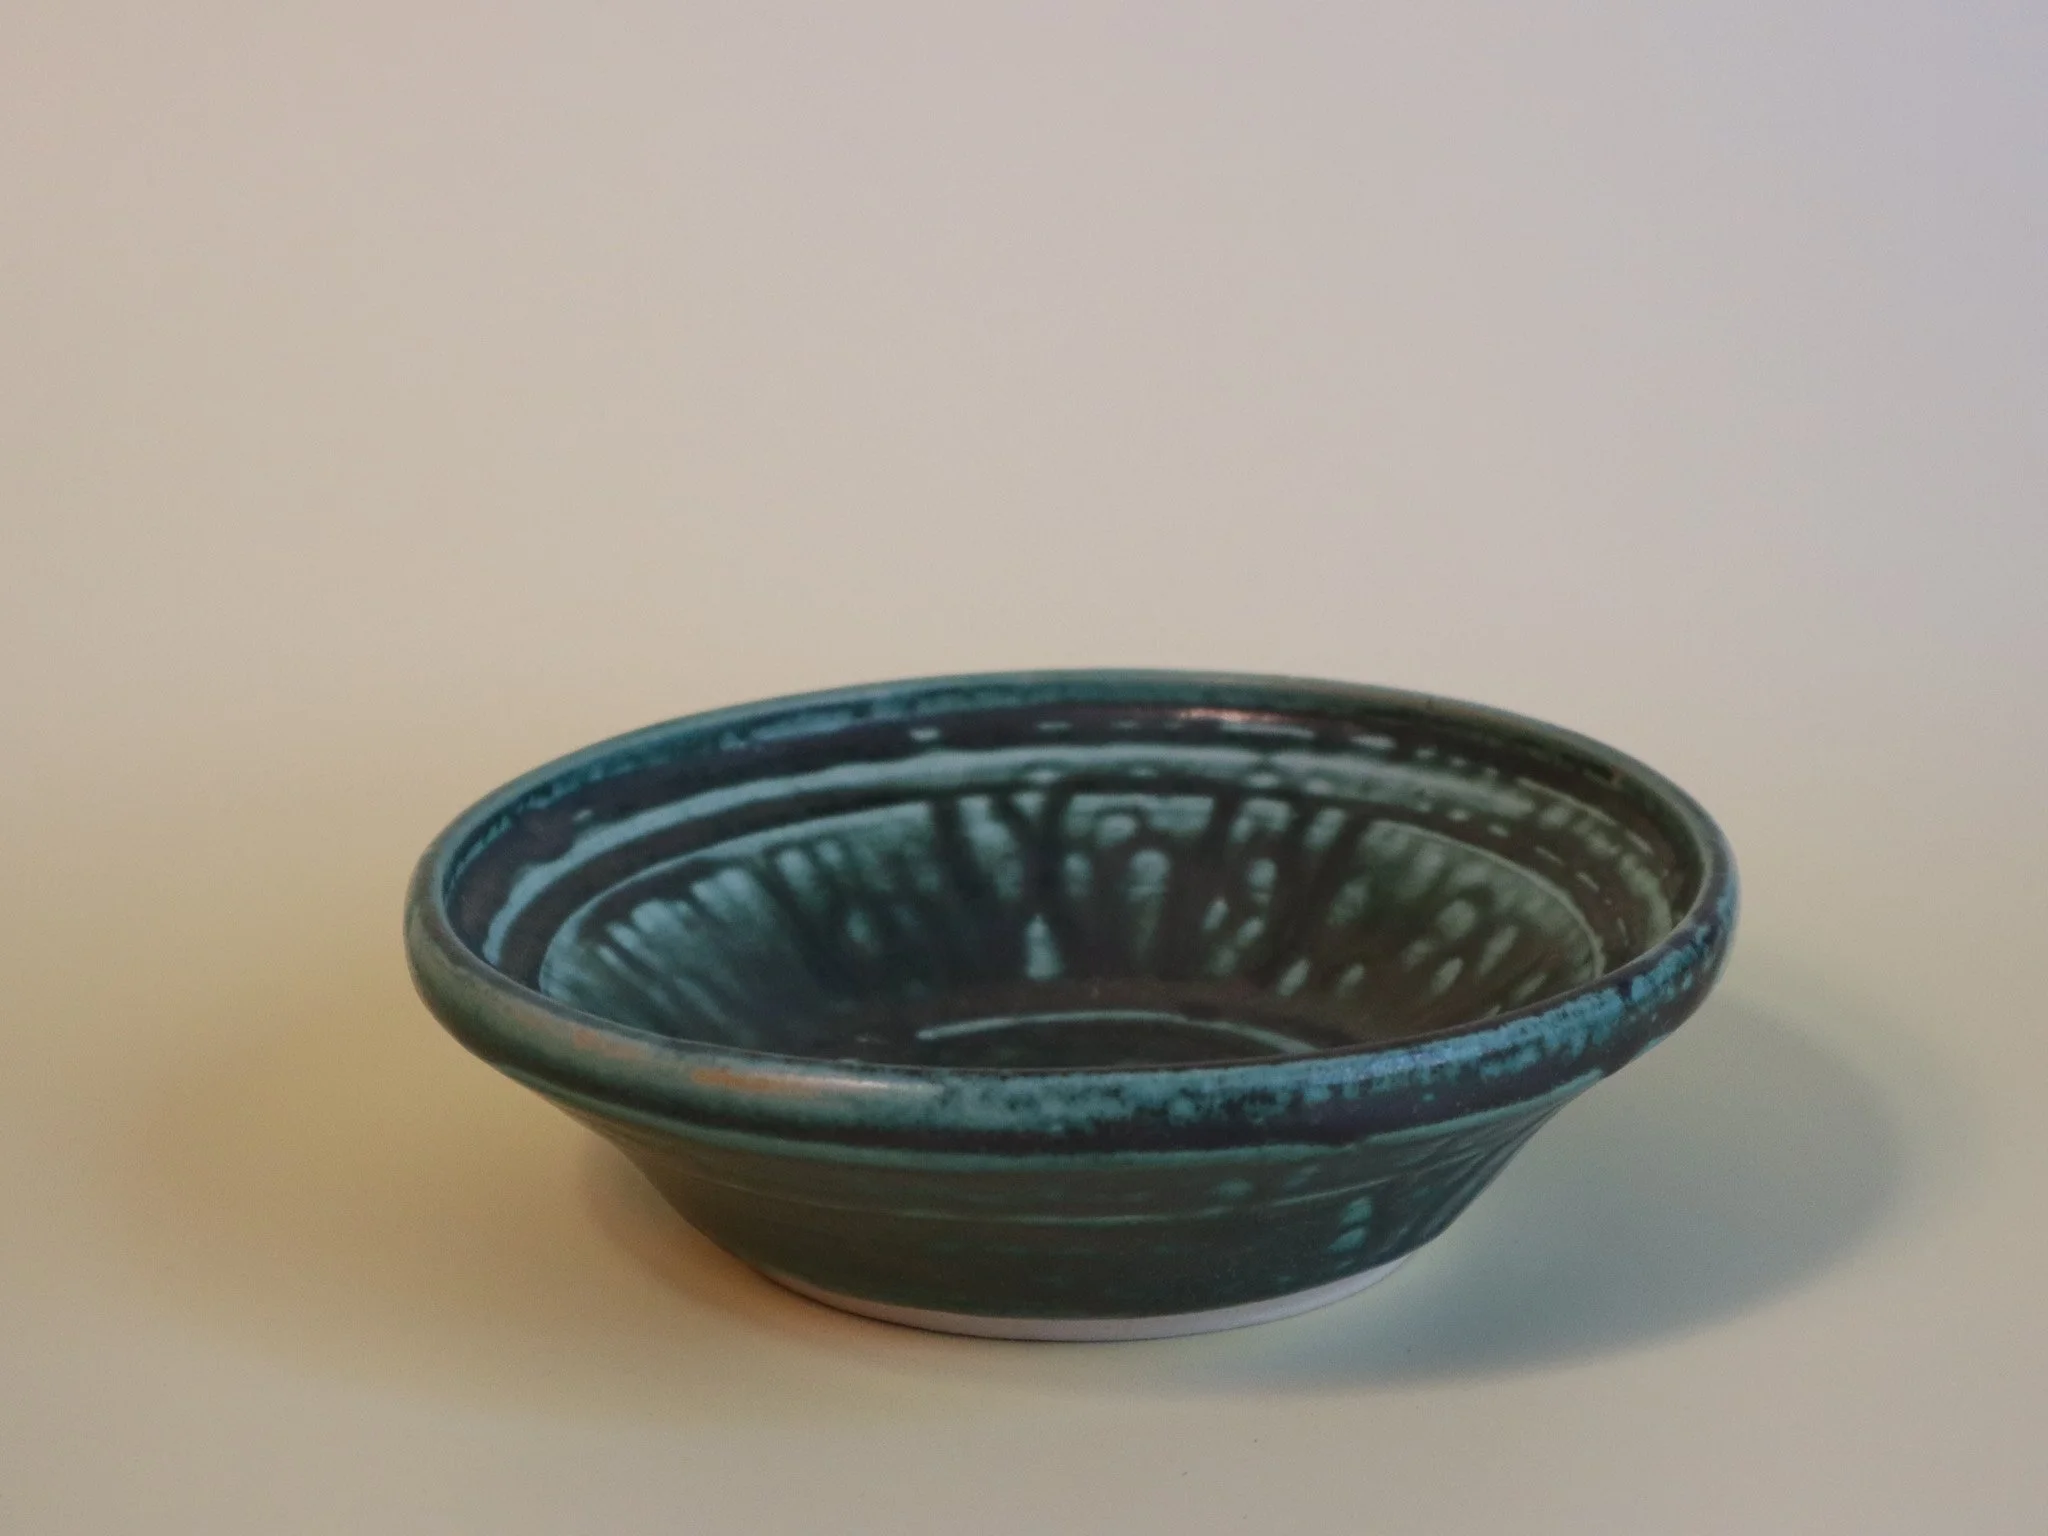
Squiggleware– Wall Plates
Some ceramicists might argue that throwing a plate on a wheel is a waste of clay, but I love the guaranteed symmetry of the method and find a round plate the most enticing form to start with. Perhaps my background in visual arts predisposes me to creating surfaces with which I can impose my vision.
Inspired by decorative plates part of fine china sets, I set out to create a whimsical version of the home decor trend using freeform carving and colorful underglazes.


Smile Pots
What started as a silly afternoon coil pot at a community clay event soon turned into an obsession. I was originally inspired by the rough-hewn, joyous creations of children around me at said event. I wondered what a kid might create and how I could carry that into adulthood: something happy, something bumpy, something uneven, yet still laced with enough craftsmanship to show growth.
It did not take long for the coiled pots to get out of hand, but the amount and variety lends to the pots’ collective splendor– so I persist.


Slipcasting
It is a common misconception amongst new ceramicists that slipcasting is an easy way to achieve a perfect form from clay over and over and over again. This could not be further from the truth. Slipcasting requires patience and precision, and even then not every form will be exactly alike. Plaster molds require their own set of production skills to create and have a shelf life that shrinks with each use.
To become familiar with the process of slipcasting and how glazes behave on the liquidy clay body, I borrowed four molds. After de-molding the small vessels, I carved my personal squiggle motifs into the three tiny amphorae. I learned a few things— first, slip shrinks far more during the drying process than any other clay body I have ever worked with, and second, glazes are twice as runny on a slipcast item than a wheel-thrown one.


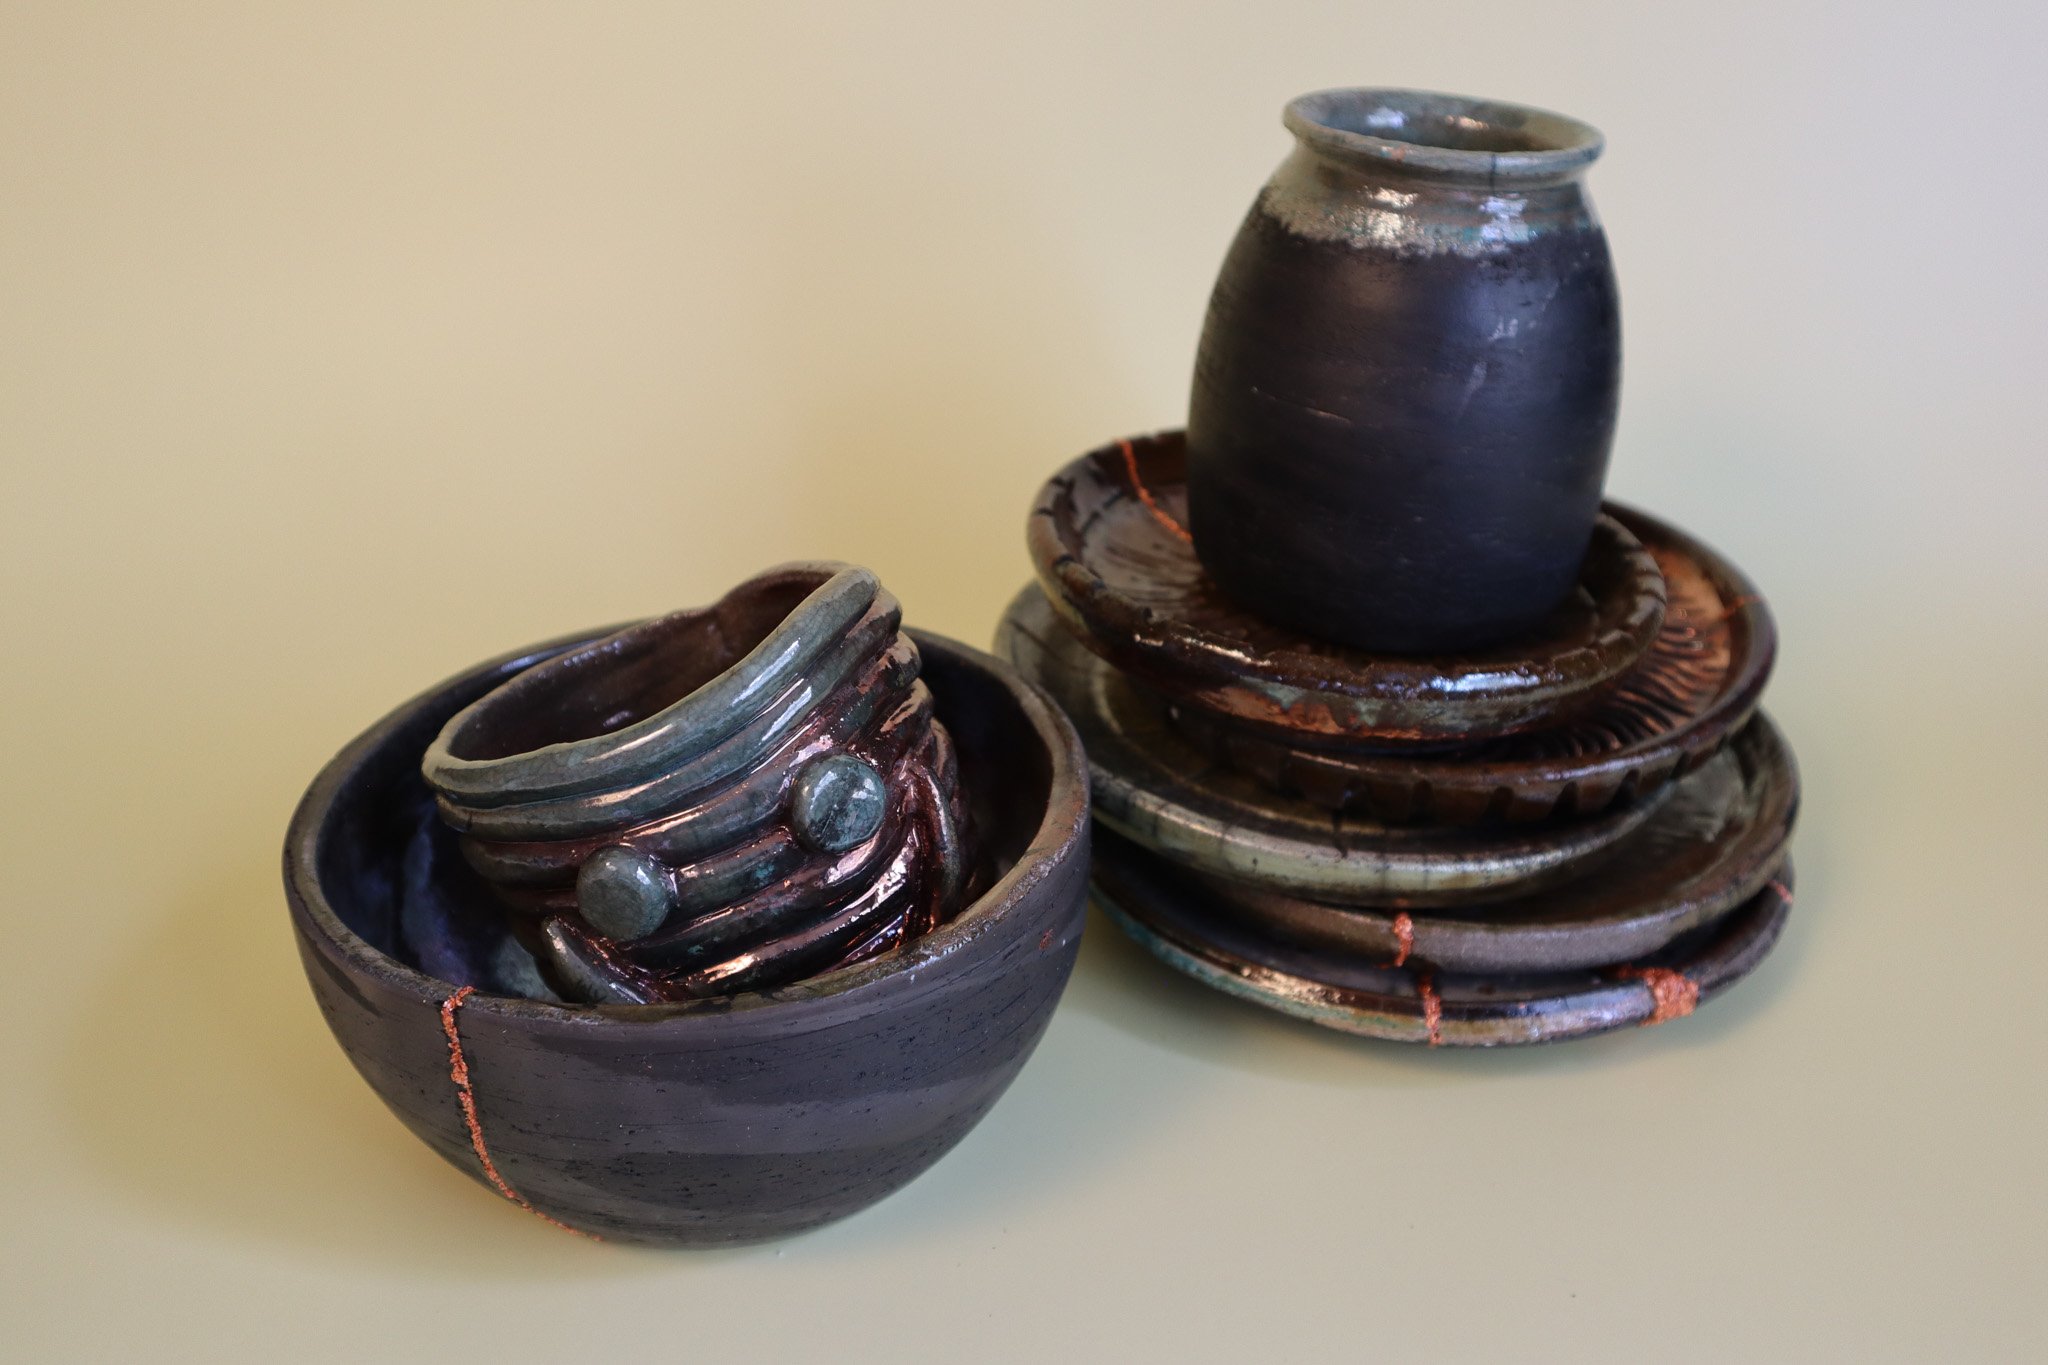
Raku
There are two major types of raku ware: traditional Japanese raku that is characterized by hand-formed chawan and removed from a low-temp kiln to cool exposed to the elements, and western raku that is formed of any method and removed from a high temp kiln (still hot) to be submerged in carbon-rich materials for unpredictable effects. I participated in the latter raku method! Knowing ahead of time that none of my raku pieces would be food-safe, I opted for decorative pottery. I started with two different colored clay bodies, marbling some together and keeping the colors totally separate in others. In order to see some of the clay marbling after firing, I used a wax-resist where I didn’t want glaze or heavy blackening to occur. Thankfully, it allowed some of the marbling to show through.
Raku firing can be tough on materials, going from extreme hot to extreme cold so quickly, so I mentally prepared myself to lose a few things. Unfortunately, the day of firing it was frigid and wet! The added stress of a greater temperature change did crack some of the pieces once they emerged. Rather than toss my work, I decided to put them back together with epoxy and copper foil! Serendipitously, I am more fond of them after their break and repair than when they were whole.